kkrace wrote:
Be fun to get someone to 3D print them instead of CNC. Would that work as well for what you are doing here?
If the 3d printer cost more that a new Bmw then yes it would be fine. Otherwise, no
Brian,
| gemellocattivo.com http://gemellocattivo.com/forum/ |
|
| Casting Marks Engine Parts http://gemellocattivo.com/forum/viewtopic.php?f=12&t=21 |
Page 4 of 7 |
| Author: | kkrace [ Thu Jan 29, 2015 12:30 pm ] |
| Post subject: | Re: Casting Marks Engine Parts |
Be fun to get someone to 3D print them instead of CNC. Would that work as well for what you are doing here? |
|
| Author: | Brian.G [ Thu Jan 29, 2015 8:42 pm ] |
| Post subject: | Re: Casting Marks Engine Parts |
kkrace wrote: Be fun to get someone to 3D print them instead of CNC. Would that work as well for what you are doing here? If the 3d printer cost more that a new Bmw then yes it would be fine. Otherwise, no Brian, |
|
| Author: | Brian.G [ Thu Feb 05, 2015 6:50 pm ] |
| Post subject: | Re: Casting Marks Engine Parts |
Ok, Time to kick this into gear - should have them all cast/machined by weekend/end. Mark, Ive taken two rather tragic shots of parts both just out of sand. First Image is a cast part done in Chem bond sand and slightly rougher than the one below it which was done in a finer oil bond sand. When I say rougher, I dont mean gritty, just more mini islands if you get me, the oil bond casting is shining in comparison.  Looking at your Ferrari parts above I think the chem bond finish is more oem(and what they used). Finer oil bond below,  I think Ill go with the chem bond - Ill cast two sets - one with a fine mold wash, one without - you can then take your pick as to which ones to finish machine. Ill send you the other set too un-machined incase you ever need spares Obviously the machinery involved in making these suckers will have to get a mention - I just picked up this lady below at Christmas, Its a Wadkin Pk - Rolls Royce bought nearly all these saws for their pattern shops. I was 15yrs looking for this exact one as it was originally purchased by them and later bought by Boulton and Paul for making aero patterns. Anyway, I totally rebuilt it back to its former glory - it runs a 5hp motor, 18'' blade and was build circa 1934   It was all painted badly in a terrible green when I wheeled it off truck - this had to go and its now sitting in its original Engineering machine slate grey.  Its a very scary machine to stand beside if you're not used of it given its large 2800rpm blade. Super machine for laying out the bulk of big patterns/boxes though. Next is the cnc, this machine I have for some time and does a lot of different prototyping work. Its a Hurco. After Christmas I started the what I thought 'small' task of building a proper enclosure to contain the coolant - I do a LOT of aluminium machining and the inability to run proper flood coolant was a major bottle neck. I made a proper pump case and impeller and joined it to a 3/4hp pump. Plenty of coolant blasting power now. Below are images of it semi finished - its now got sliding doors and I added some stickers I had to give it some life 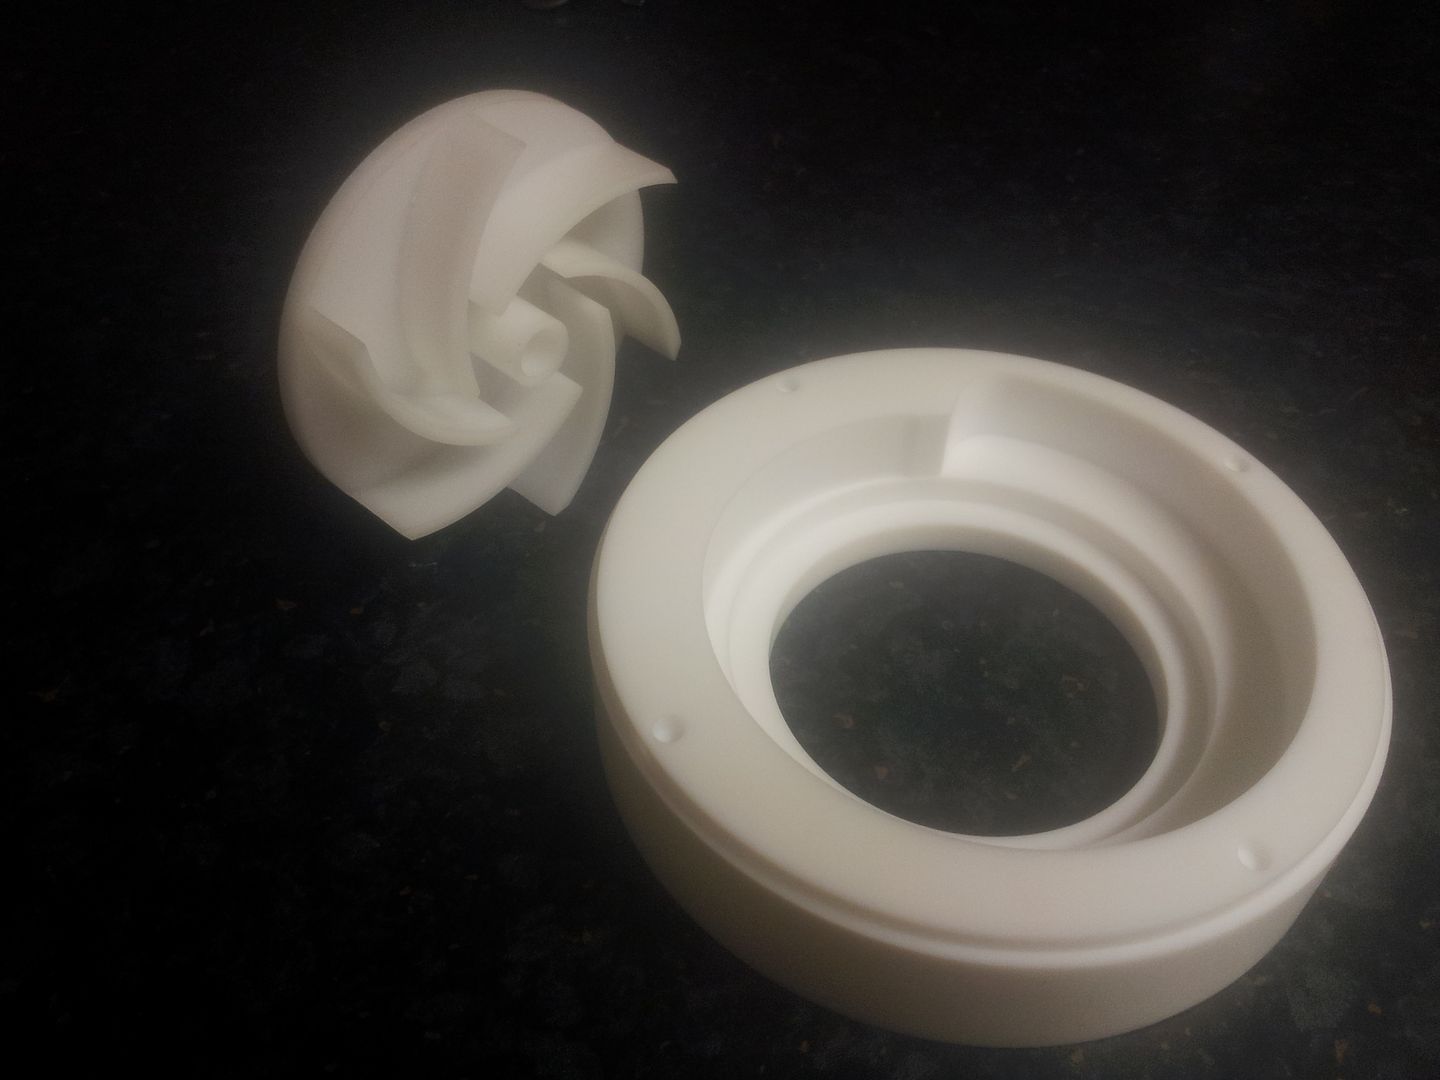 1'' hose.. 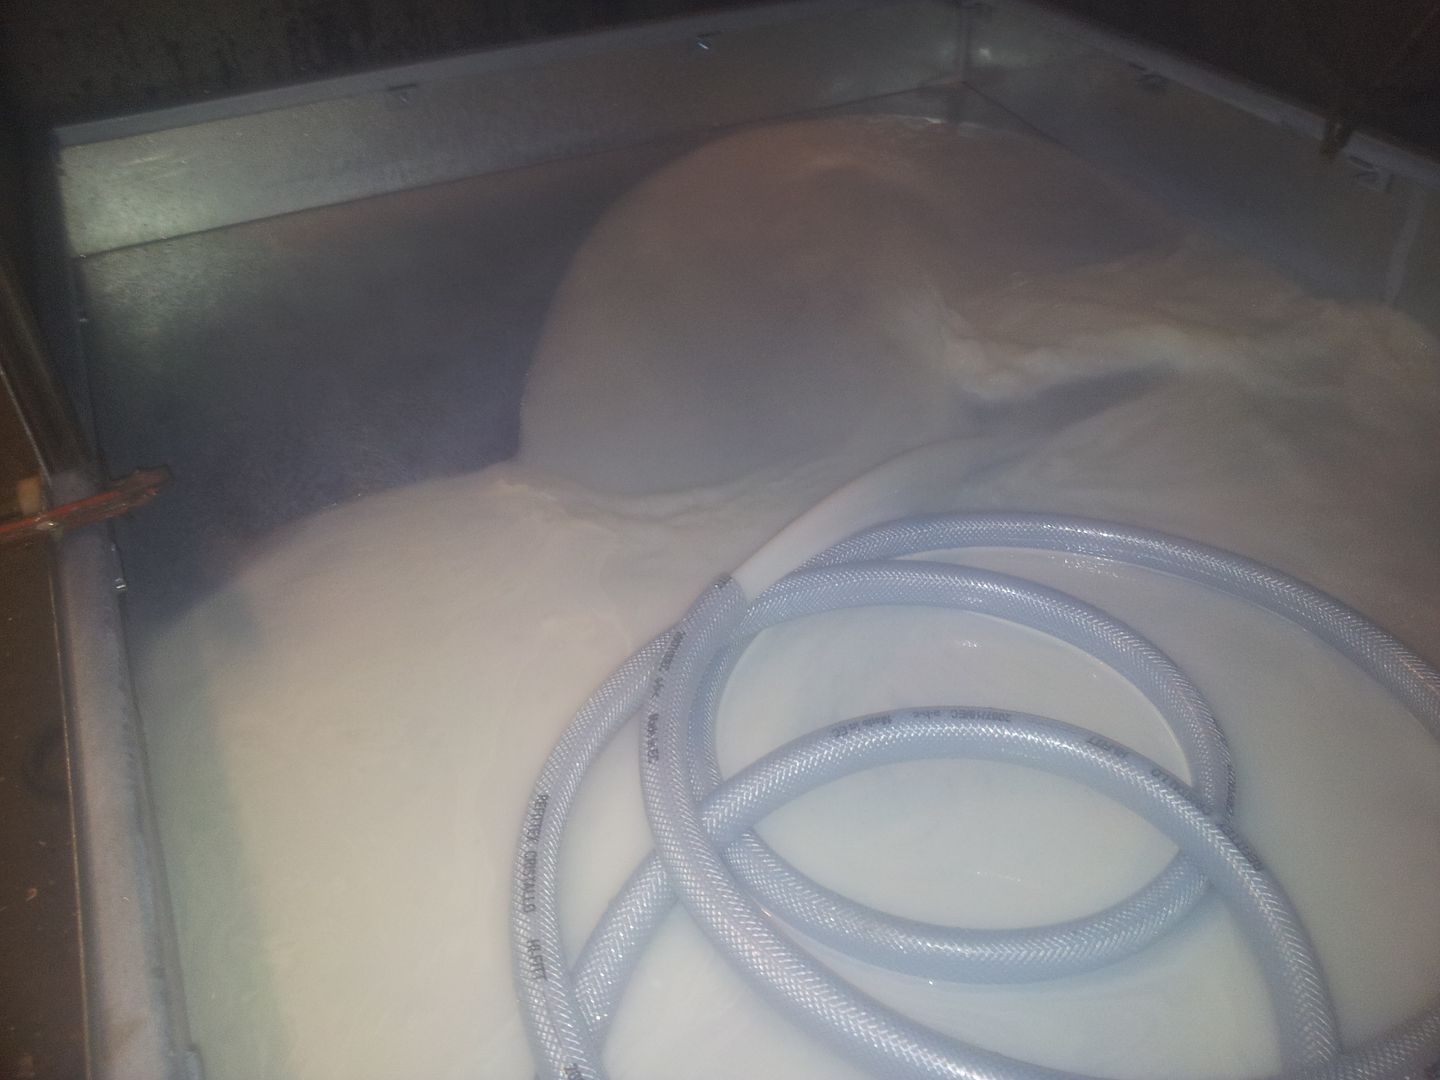 Lots of 1.5mm steel sheet...  Lots of white paint, 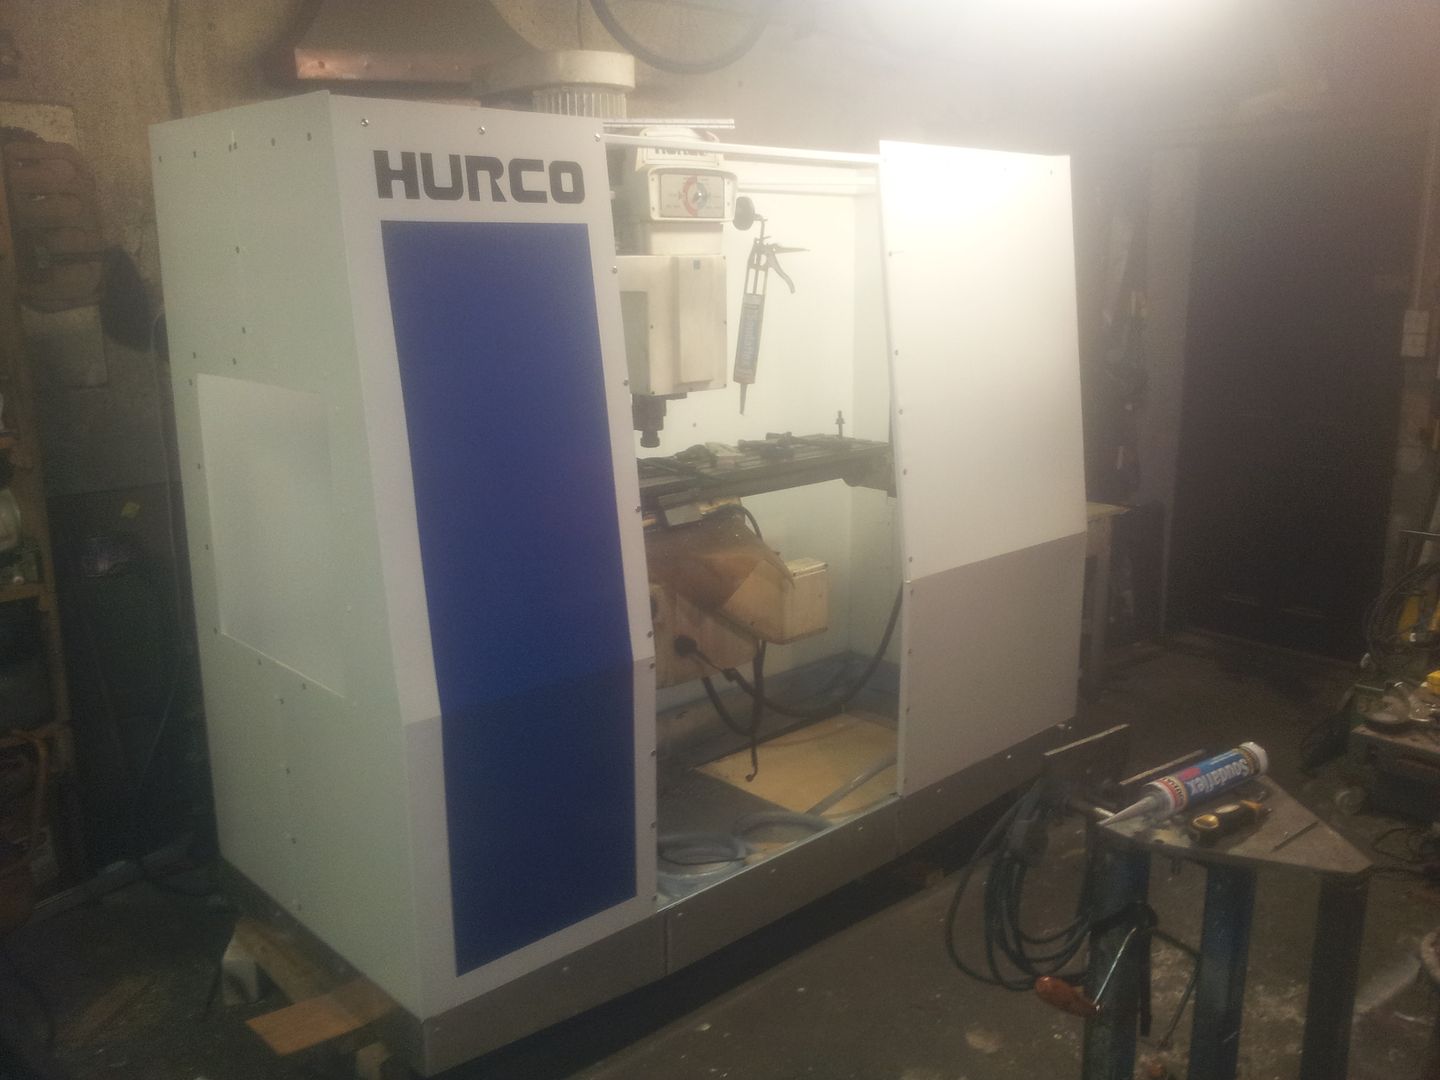 And lastly, the heat source - made up this furnace years ago for small jobs and it lasted so well I hadn't the heart to bin it. I have a much bigger 'real one' for large pours. 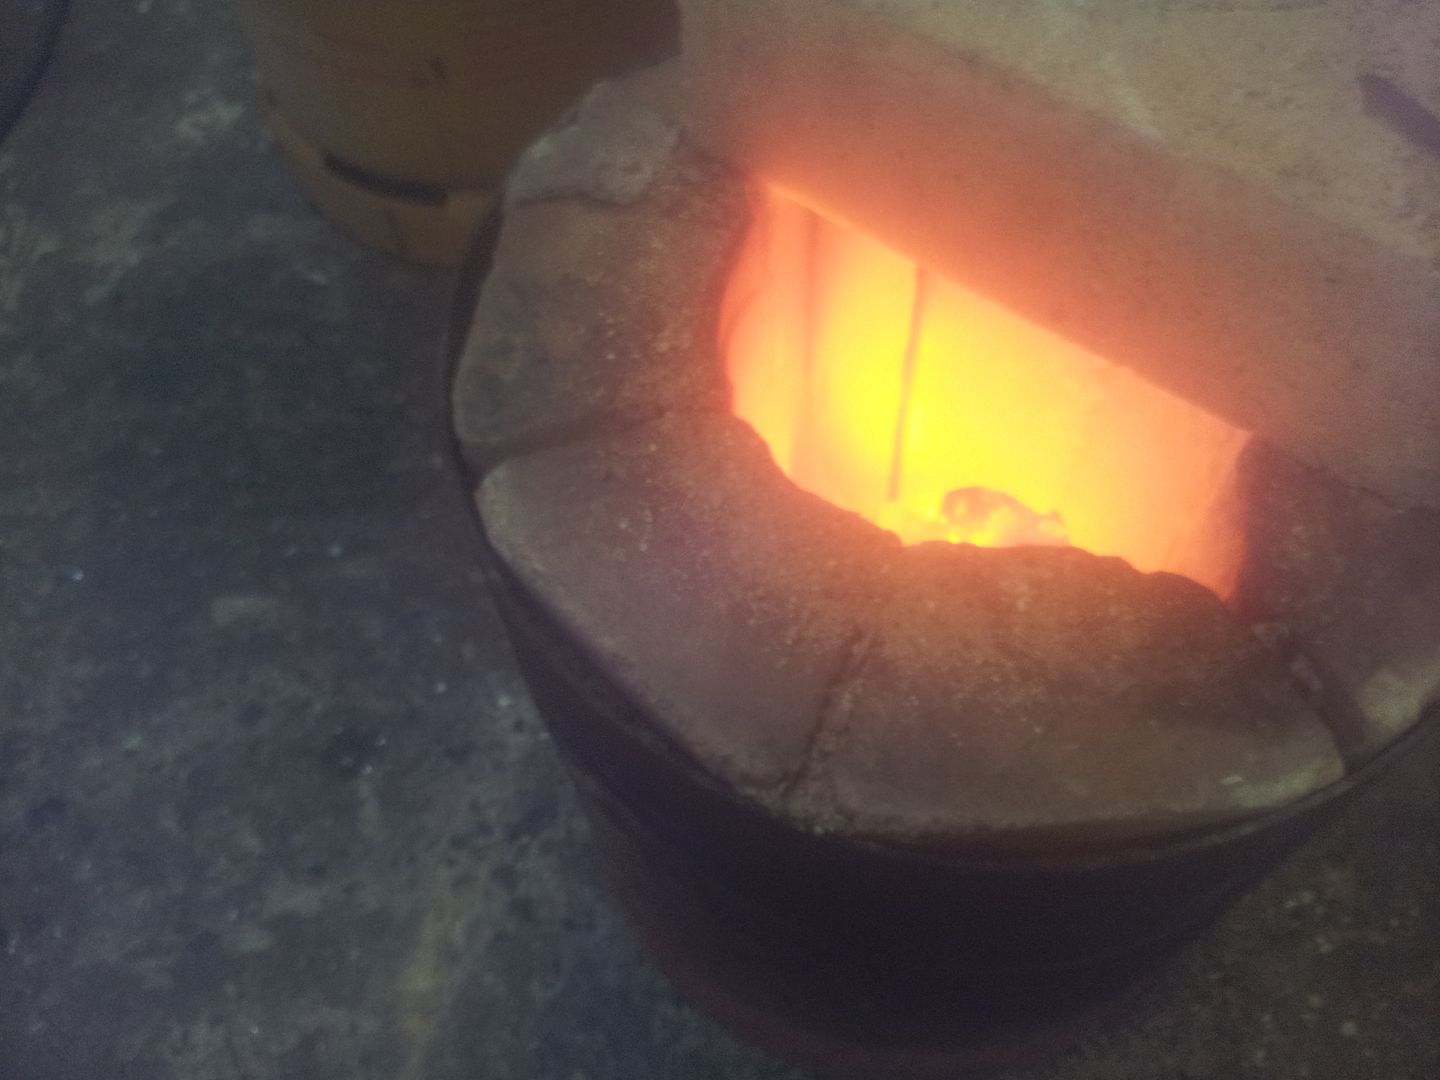 Thats it for the time being. Ill be cutting the patterns tomorrow so stay tuned. Hopefully the above bit of machine 'trivia' will help bulk up an otherwise boring post Brian, |
|
| Author: | mk e [ Fri Feb 06, 2015 10:53 am ] |
| Post subject: | Re: Casting Marks Engine Parts |
Very cool stuff Brian.....that's a massive saw and a really nice job on the mill enclosure. The rougher the better I think so I agree you're call on the chem bond. |
|
| Author: | Brian.G [ Fri Feb 06, 2015 2:06 pm ] |
| Post subject: | Re: Casting Marks Engine Parts |
Moving swiftly on.... As mentioned models were taken in and sliced up to export 2d plan/elevation sections. Ill be working mainly off these 2d slices for the bulk of the work. 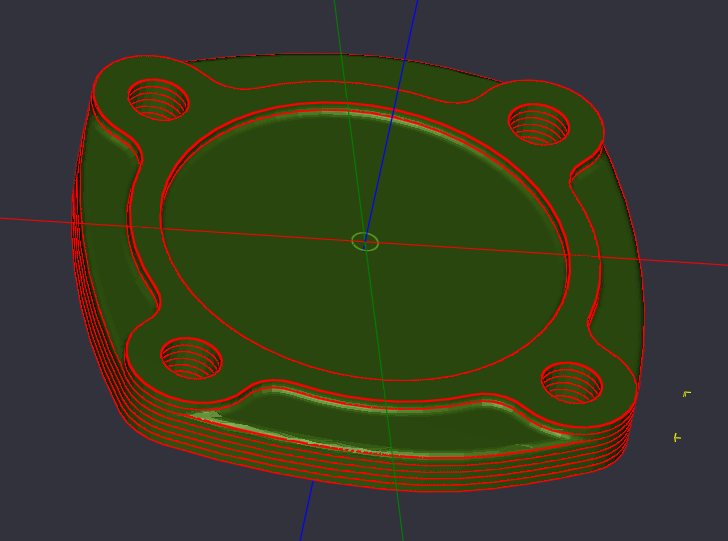 They are then removed from solid model and the ones I need picked out, 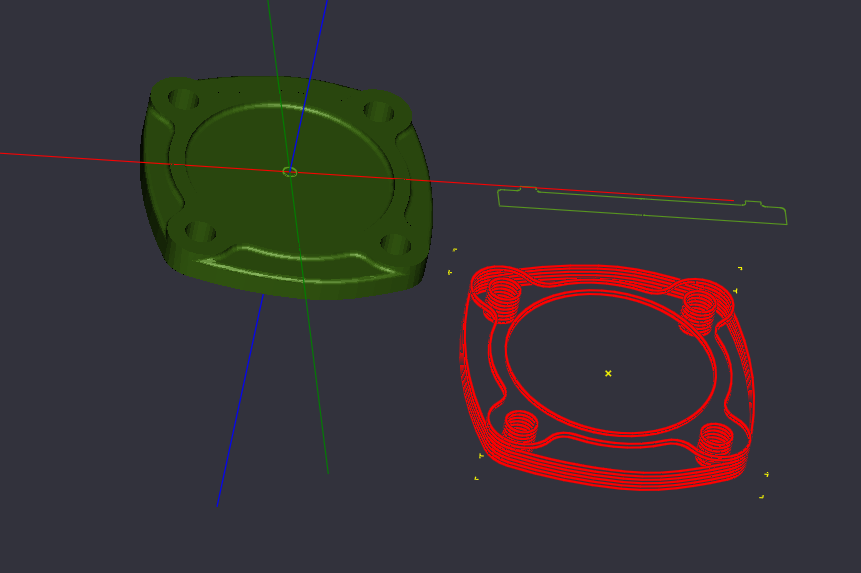 This is done for all models, plus important cross-section elevation details extracted, 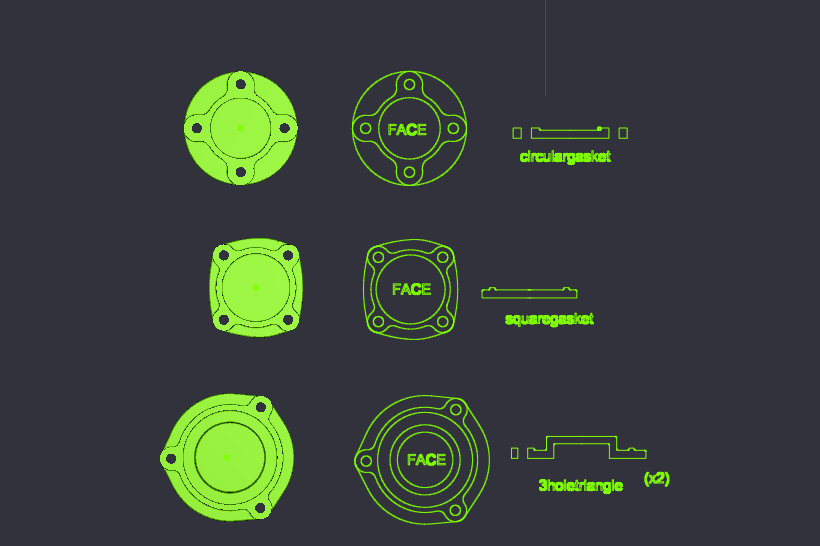  3d + 2d models/drawings, 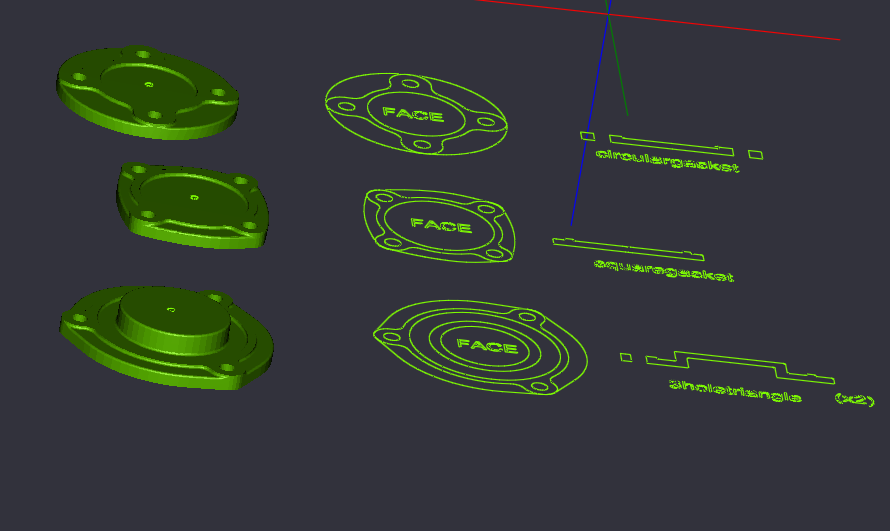 Next thing up(after dinner!) is adding draft and shrink allowance, More soon, Brian, |
|
| Author: | Brian.G [ Sun Feb 08, 2015 8:33 pm ] |
| Post subject: | Re: Casting Marks Engine Parts |
Ok, so patterns mould boxes and gating forms are done and ready for sand tomorrow Had to get a roundover bit as I didnt have the right size but I just shaved it yesterday before store closed. Out with some mahogany and away we go on cnc once models have been enlarged for shrink + perimeter draft angle. Chemical bond sand is a bit more forgiving on shallow draft angles and at a relatively small draft height at edge I hit for 1 degree.  Cutting radi, 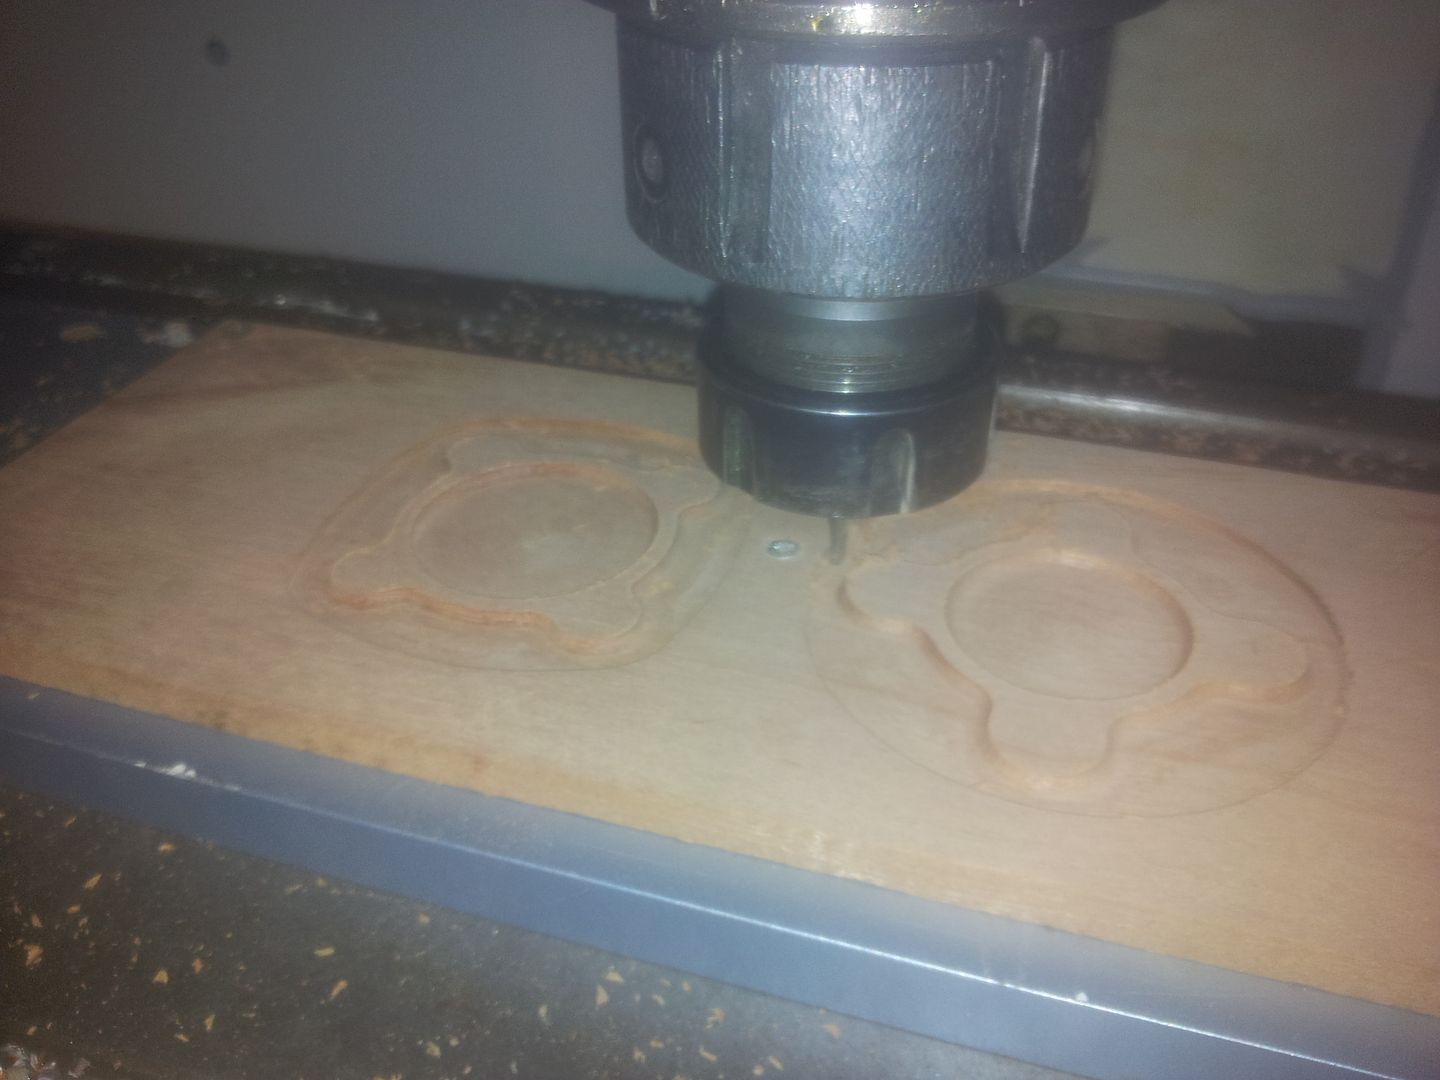 Profiling outside + roundover, 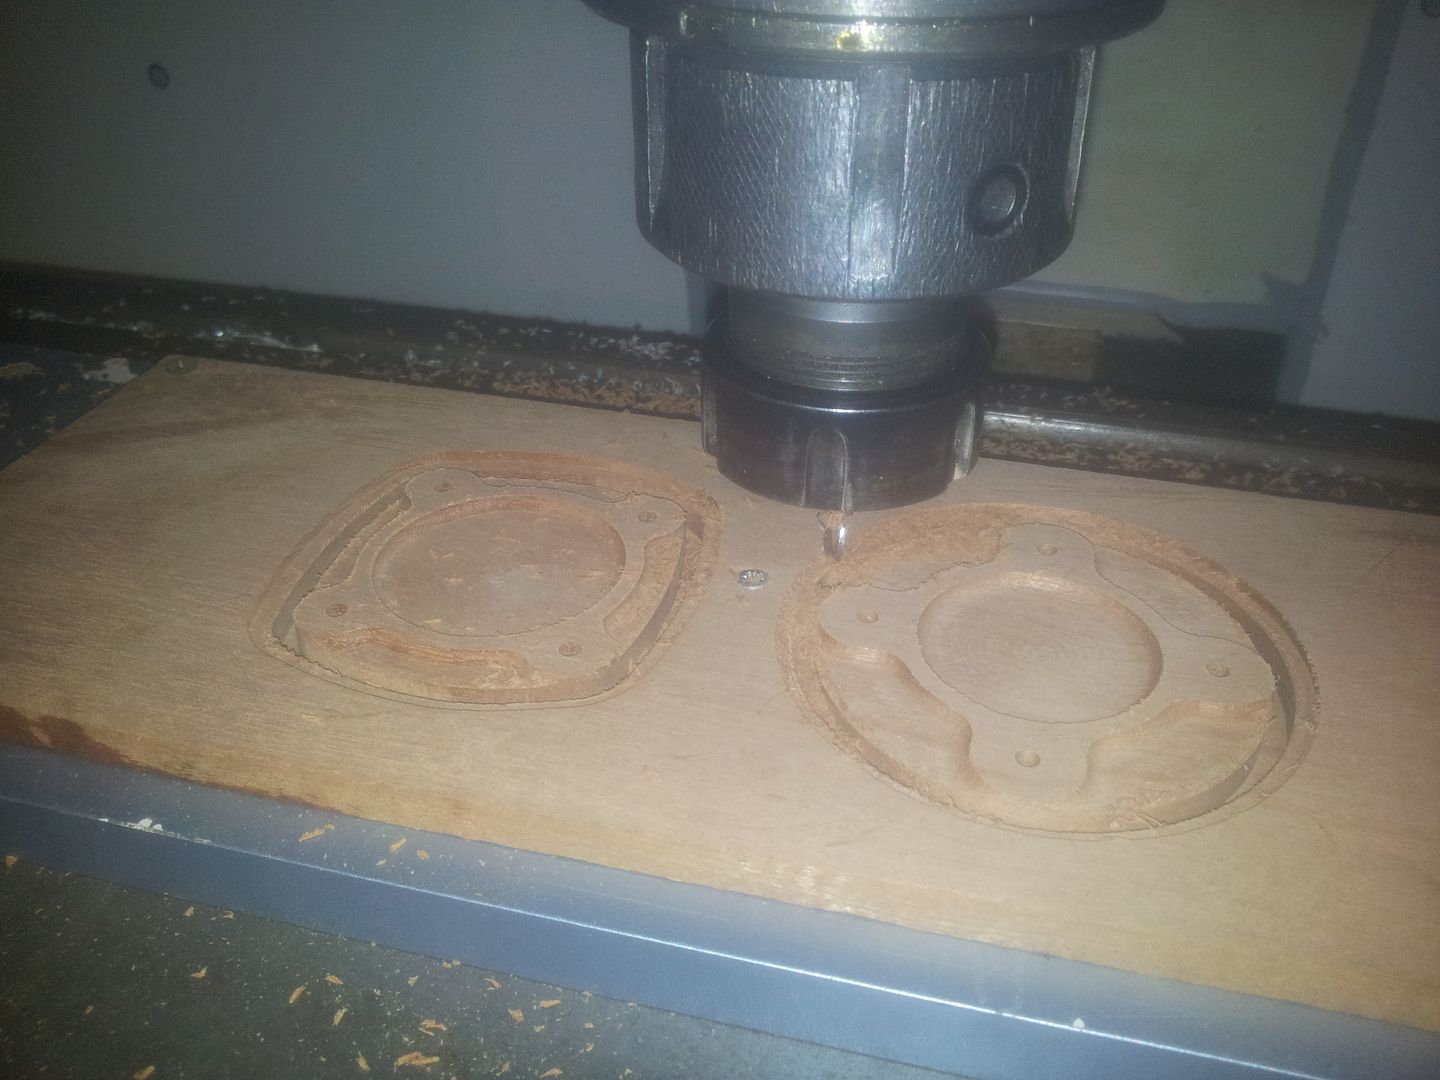 Patterns get grain filled and screwed to match plates. I used 5mm perspex as I had some to hand, Id normally use 10mm aluminium plate for long runs, 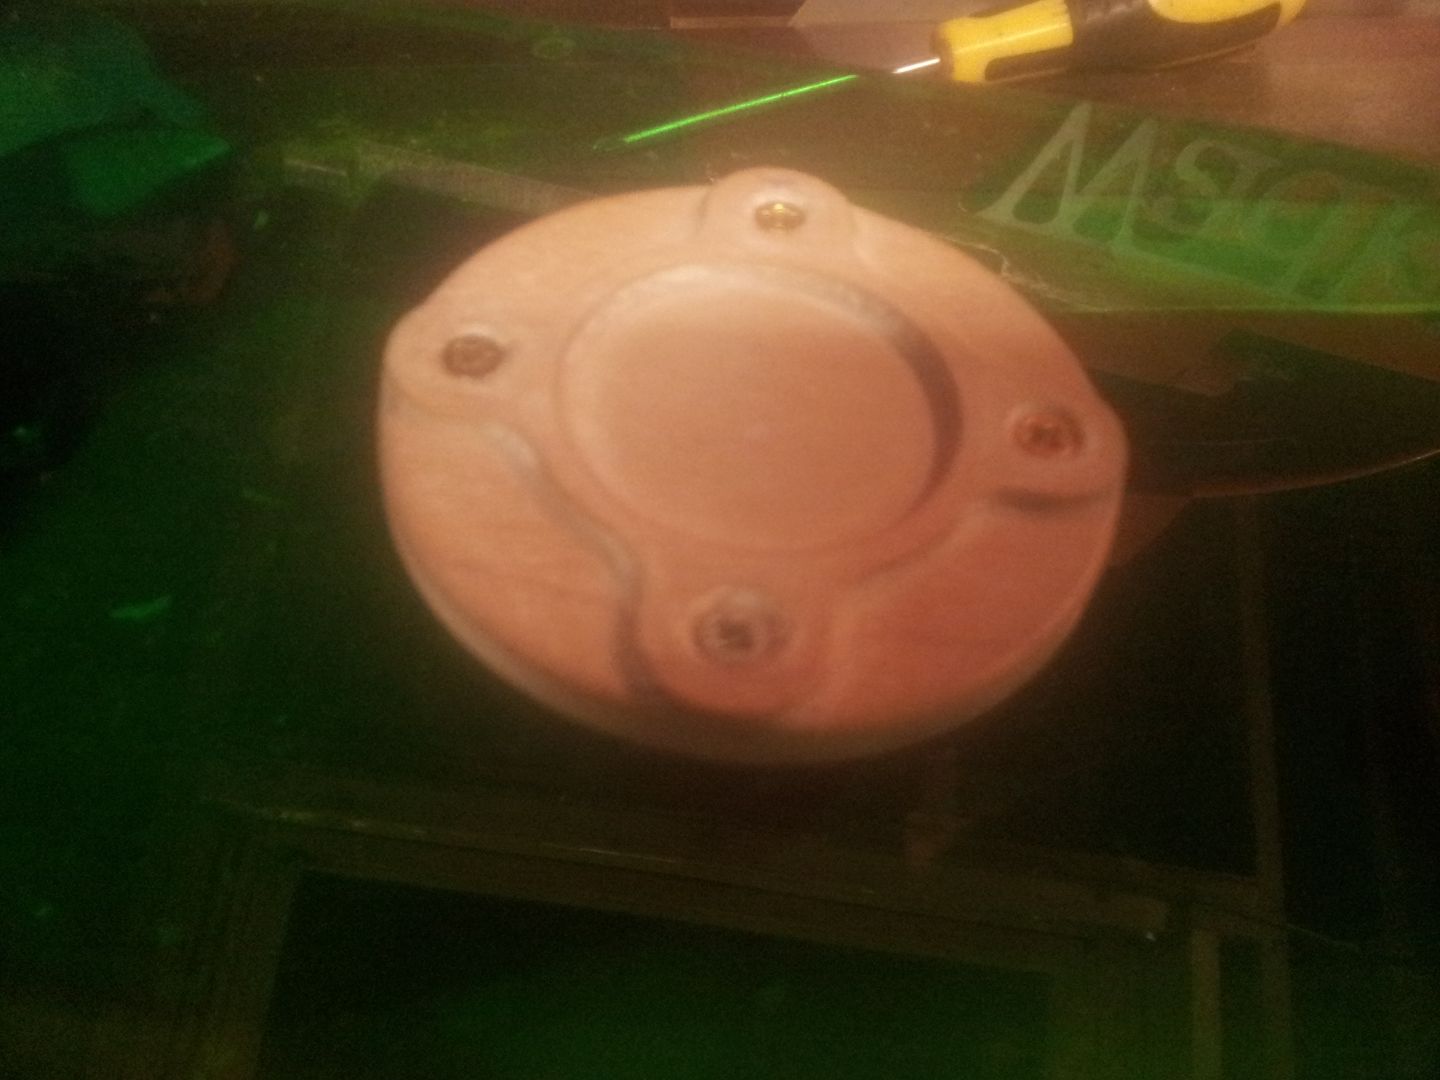 The lot gets painted with primer + guide coat for sanding back, 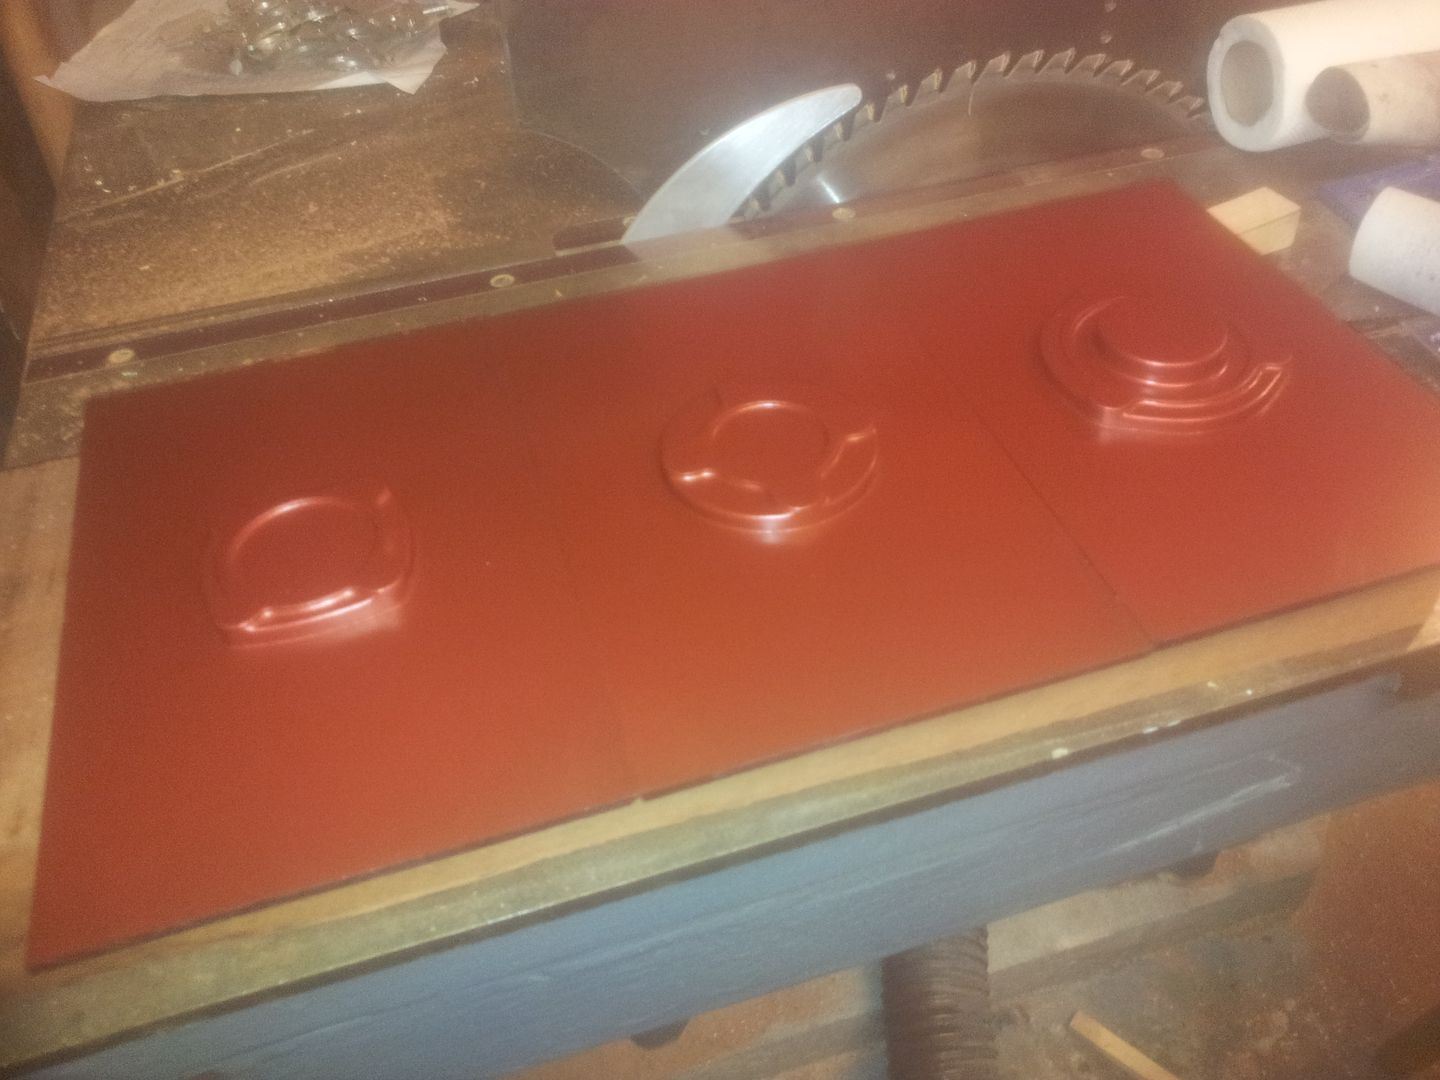 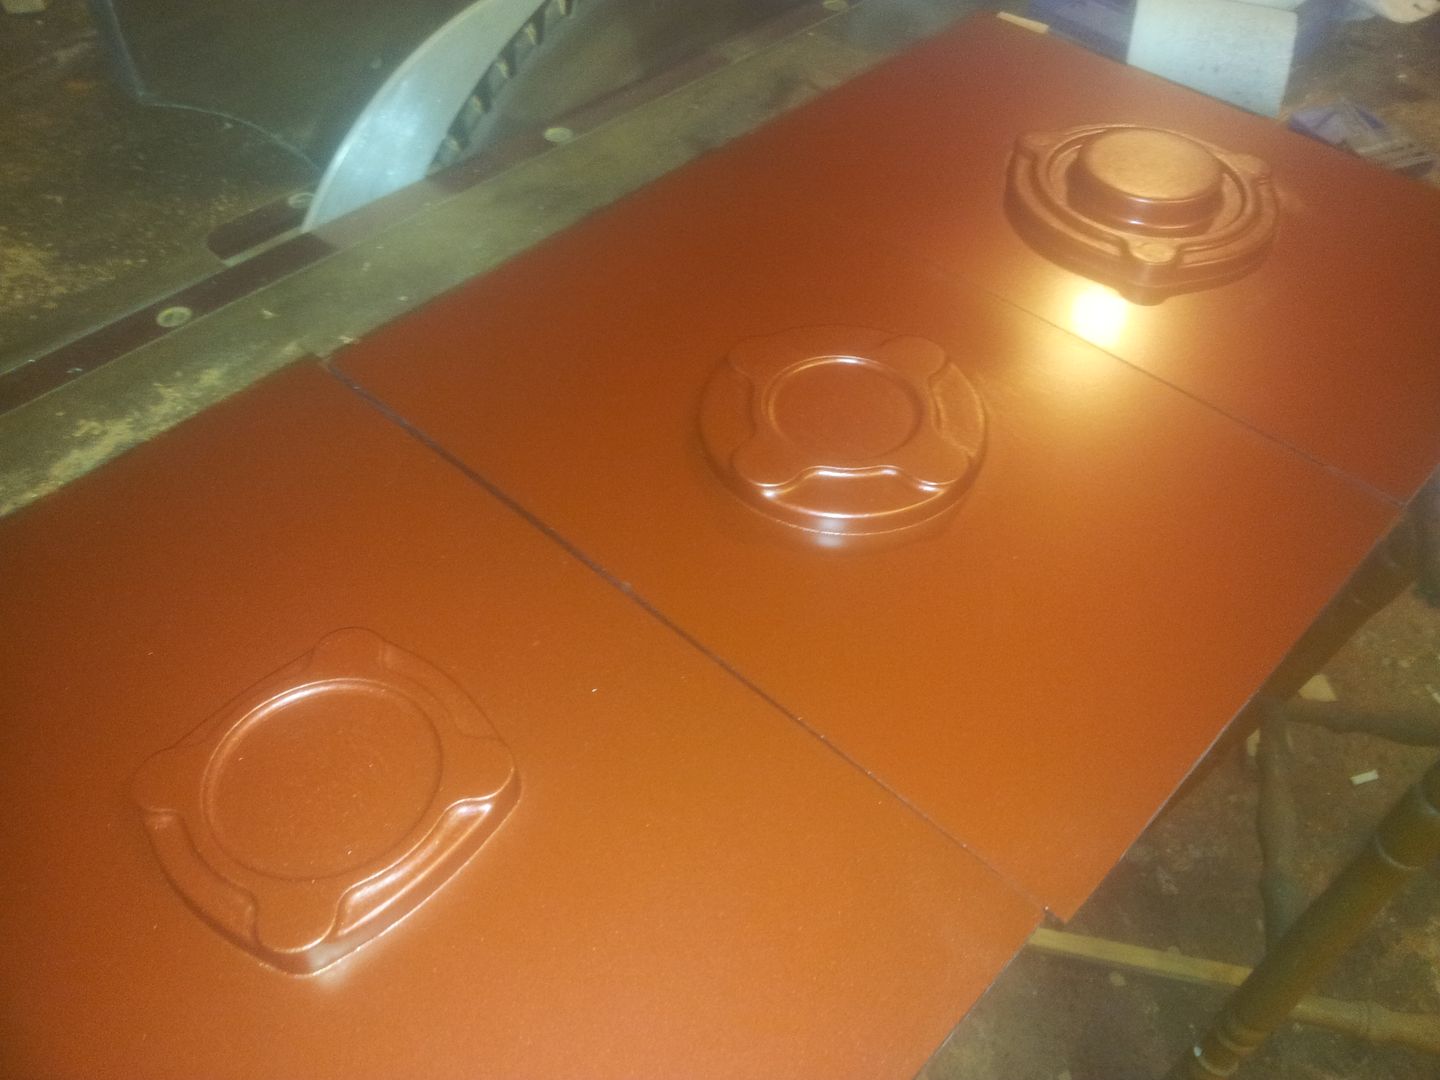 They then get shot with green, 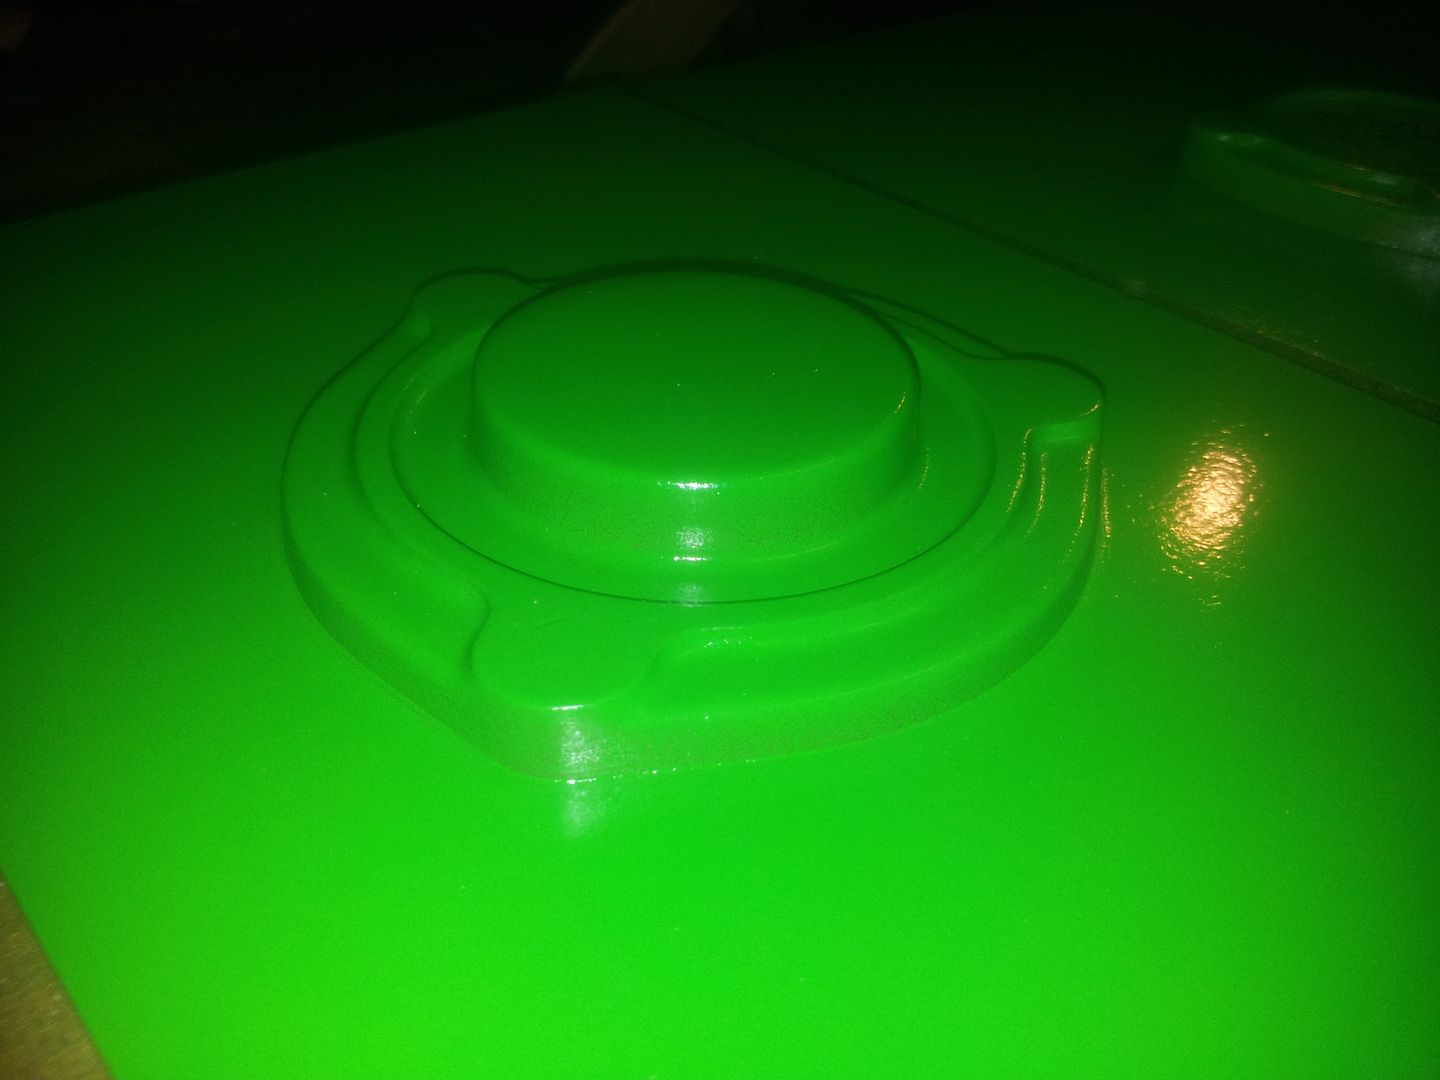 They got drilled for riser + gate forms - these are similar and interchangeable between all three match plates and press on when each mould box set is getting filled, 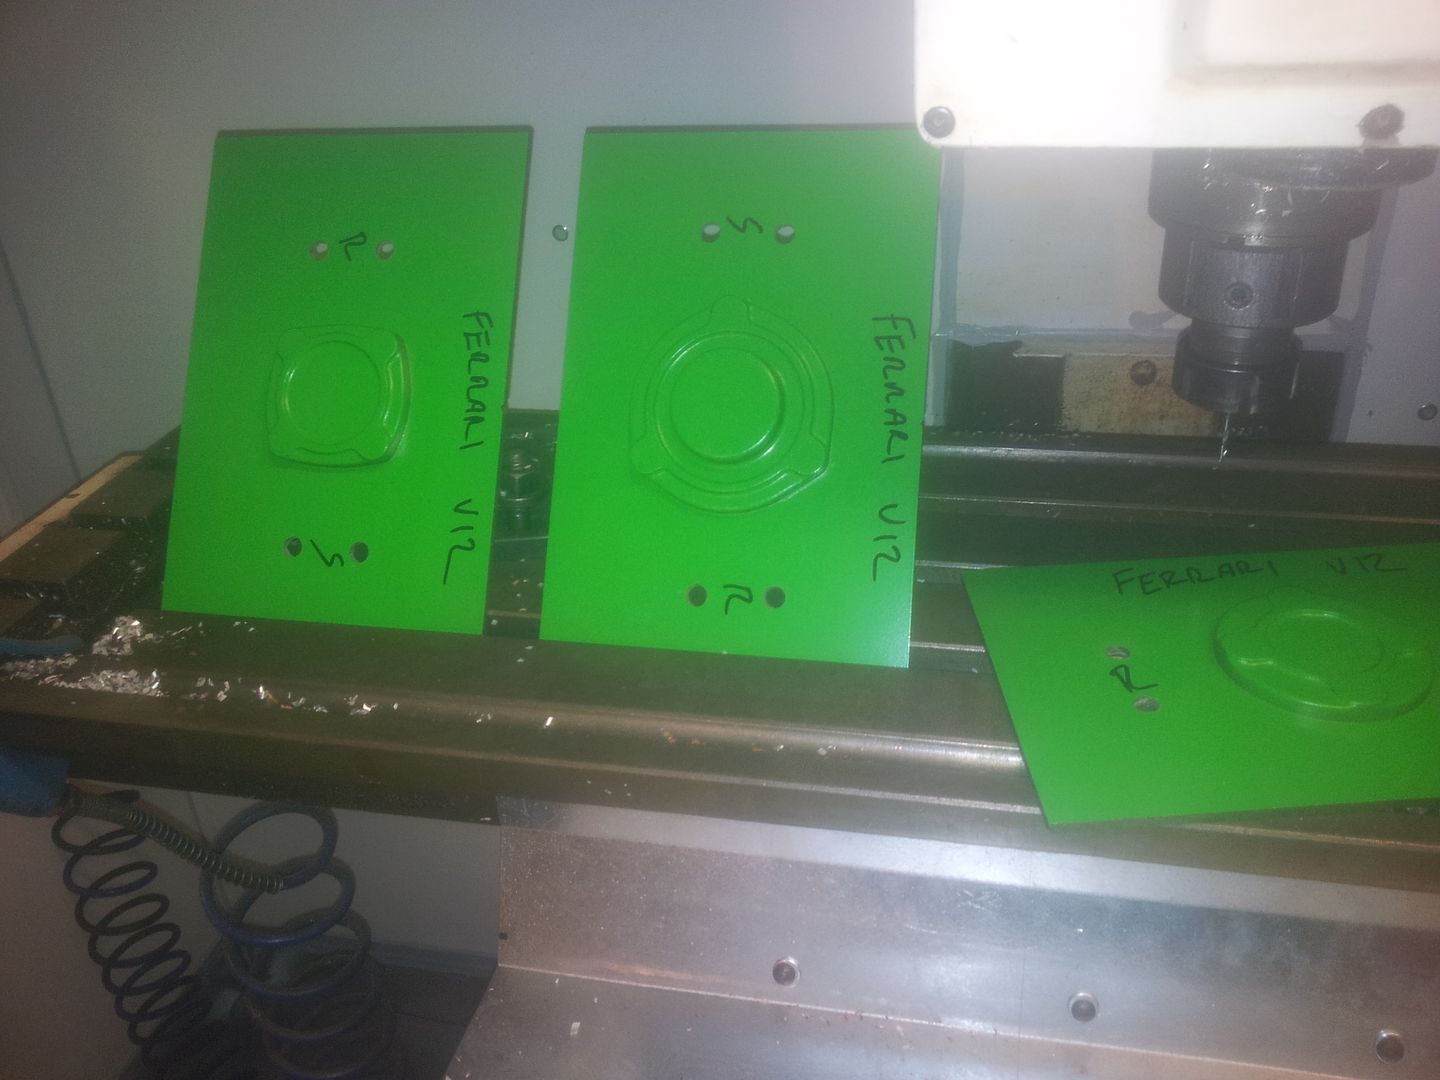 Will be pouring tomorrow, more on that then. Brian, |
|
| Author: | mk e [ Sun Feb 08, 2015 10:27 pm ] |
| Post subject: | Re: Casting Marks Engine Parts |
I guess I never really thought about how much work even a relatively simple part is to make! The patterns look great but now I real bad |
|
| Author: | Brian.G [ Sun Feb 08, 2015 11:11 pm ] |
| Post subject: | Re: Casting Marks Engine Parts |
Describing it all and taking shots with a terrible camera takes way longer than the actual job(as you know, minus terrible camera) Fear not. Brian, |
|
| Author: | a1exander [ Mon Feb 09, 2015 1:15 am ] |
| Post subject: | Re: Casting Marks Engine Parts |
Even though you have gone to great detail for which I am gratefull I am still perplexed. |
|
| Author: | Brian.G [ Mon Feb 09, 2015 7:37 pm ] |
| Post subject: | Re: Casting Marks Engine Parts |
a1exander wrote: Even though you have gone to great detail for which I am gratefull I am still perplexed. Hopefully the next bit will bring some light on things then. The gate/riser system was added to bottom of parting plates - as mentioned this fits all the patterns for speed. The form also contains reservoirs either side to smooth out turbulence and also to act as storage on the riser side so that all the cold metal gets flushed out of mould cavity when filling. 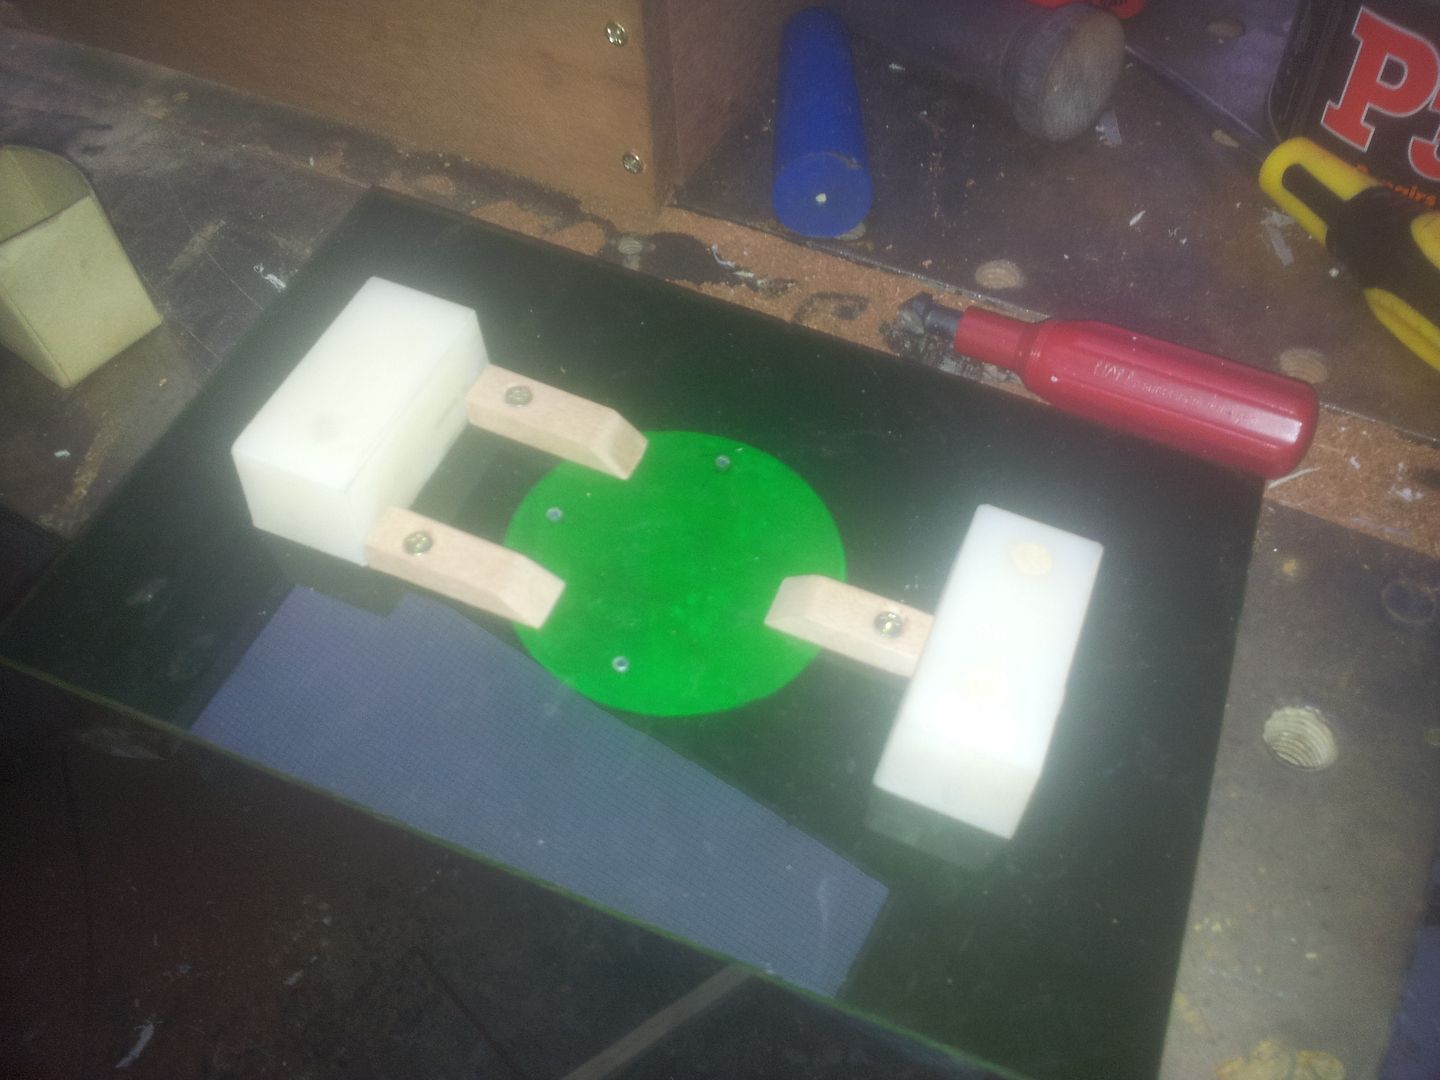 Back to the topside again, more forms added for fill sprue/riser shapes, 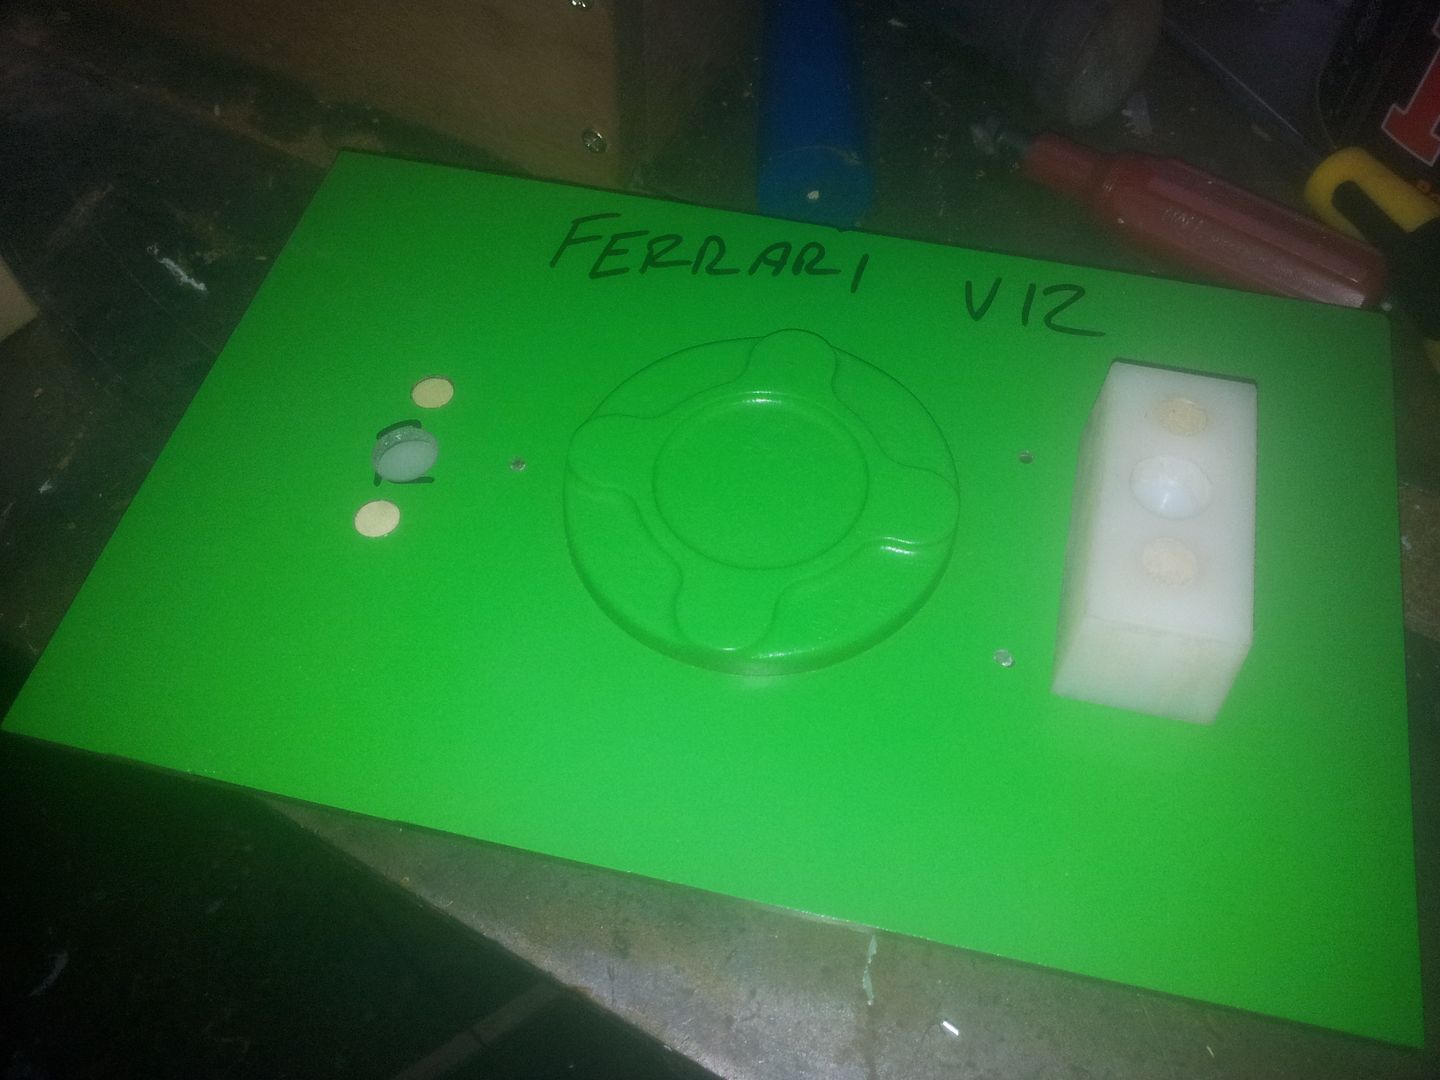 The blue is the fill side, 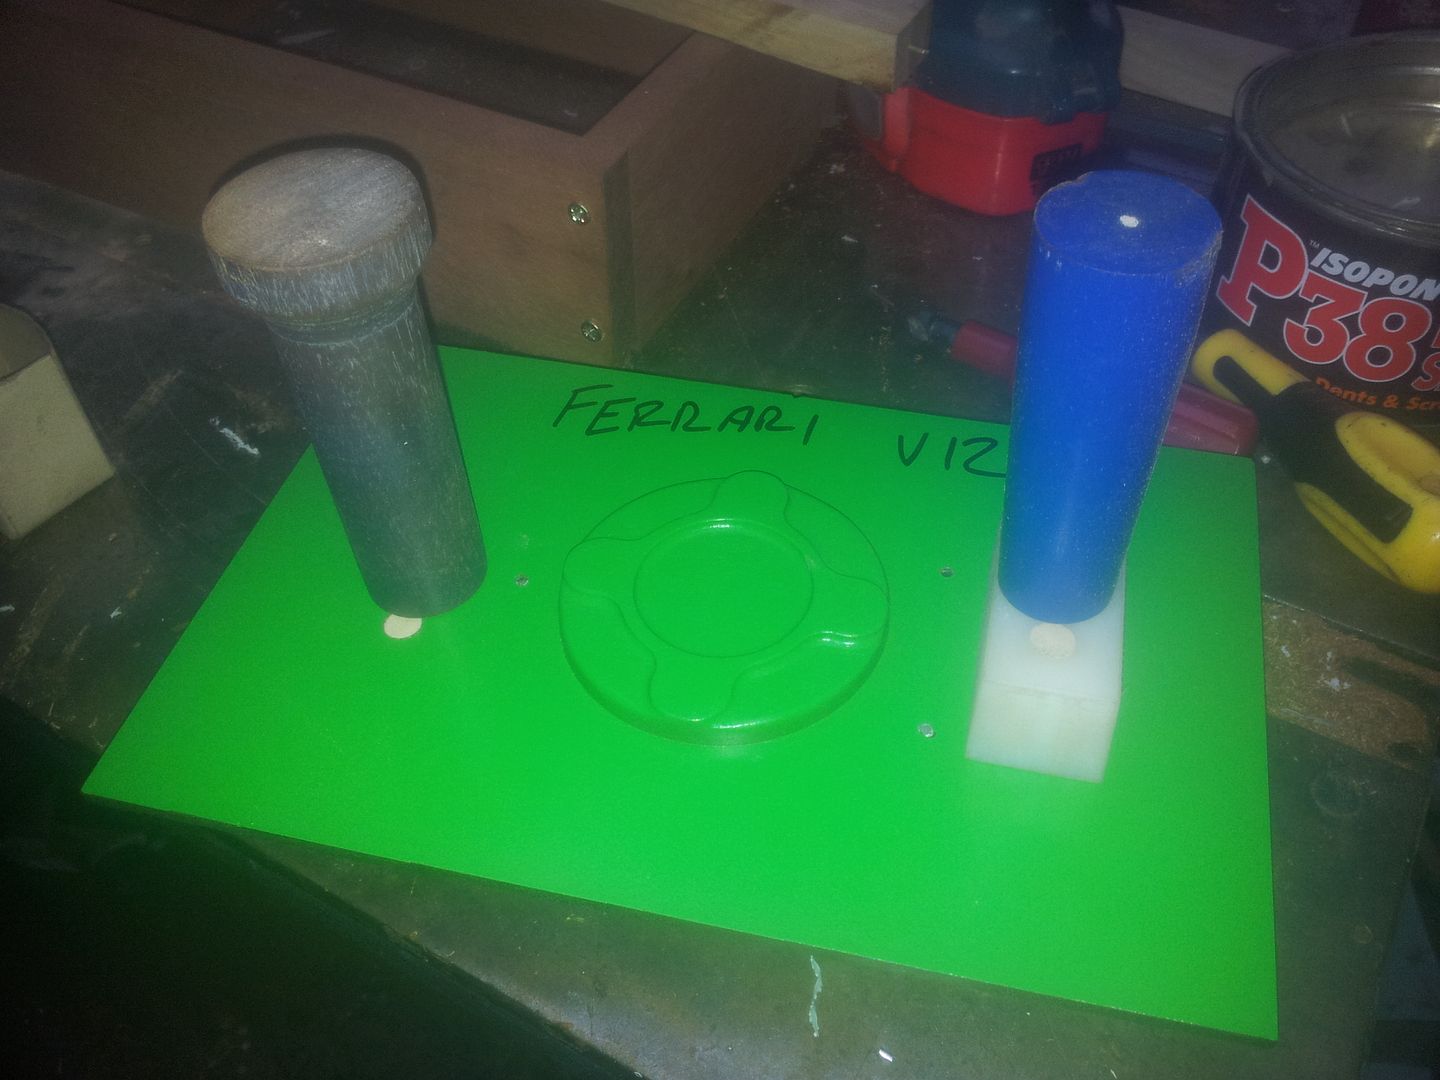 The parting/mould plate is fitted into top mould box, 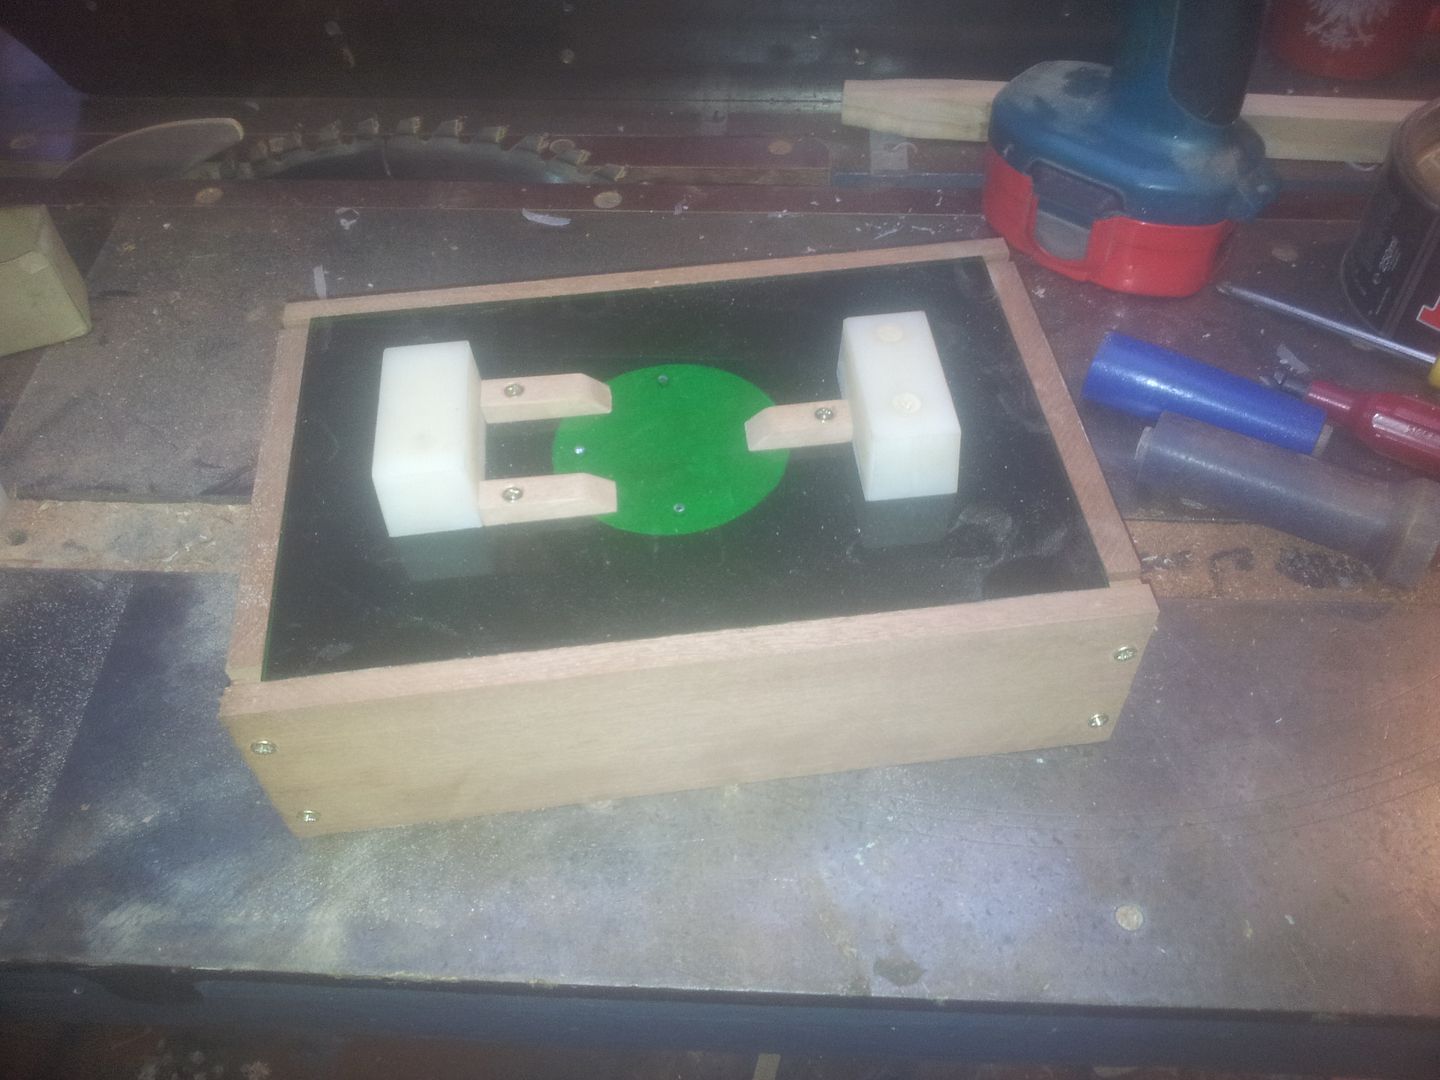 The lot is turned over and fixed to bottom box  The sand, its very fine, similar to hourglass sand, 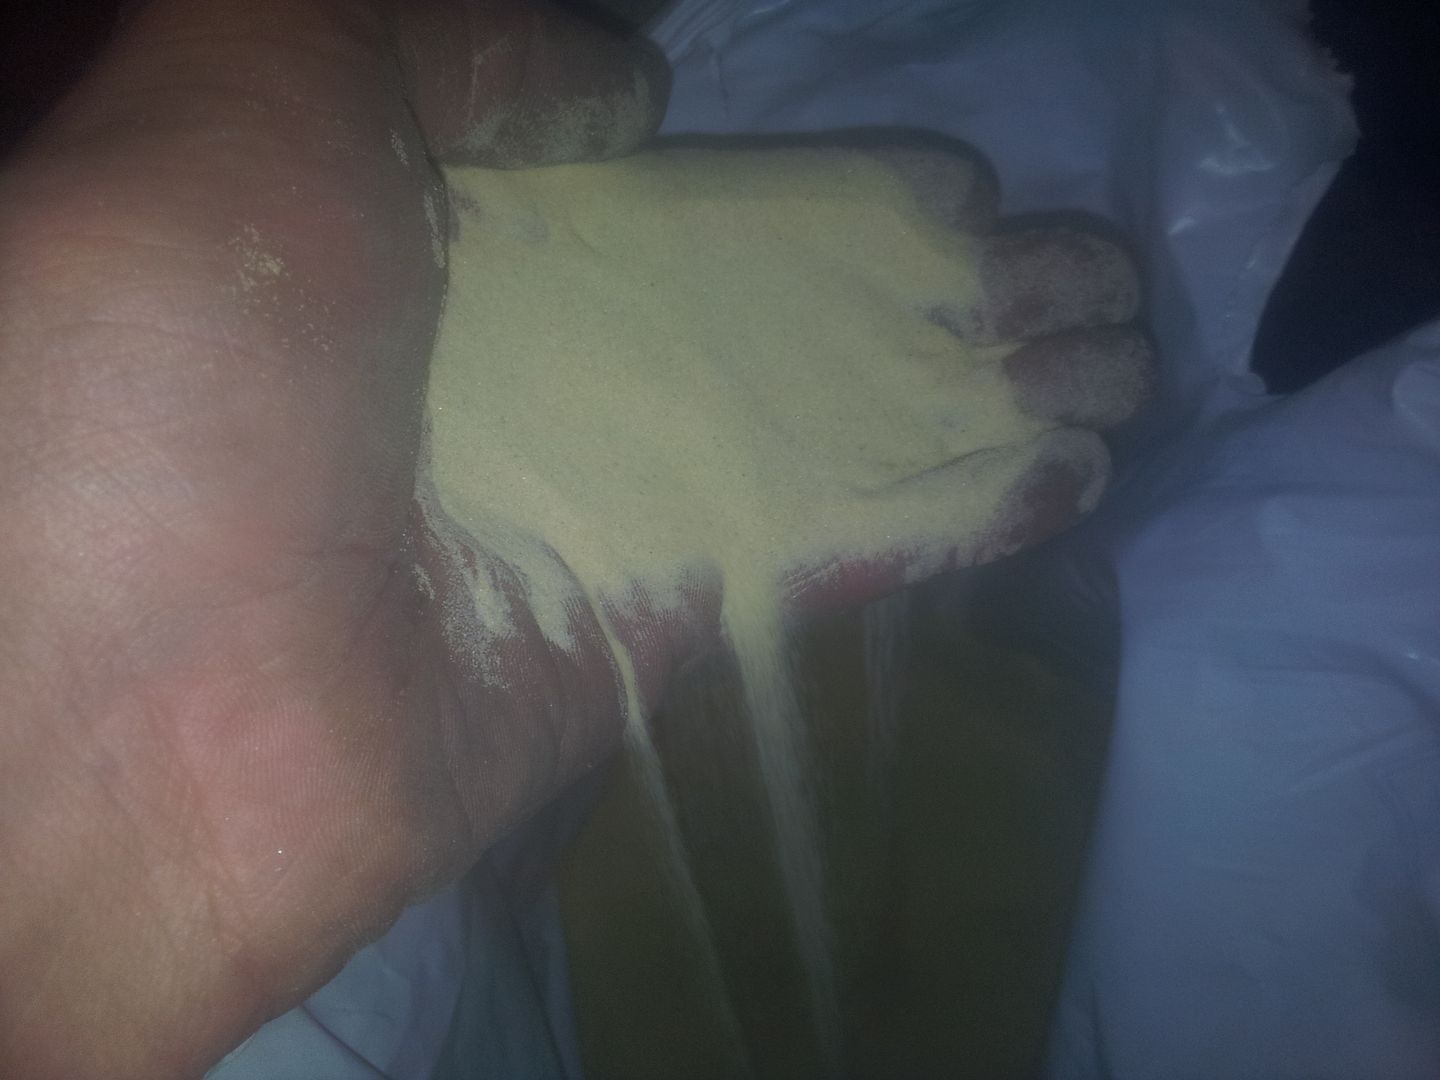 The binding agent, with these Im using Co2 cure sand because the moulds are so small. Normally a resin bond sand is used with cures in 10mins. With Co2 cure sand mix, water dissolves the bond again so with waterways or cores its easier wash out. 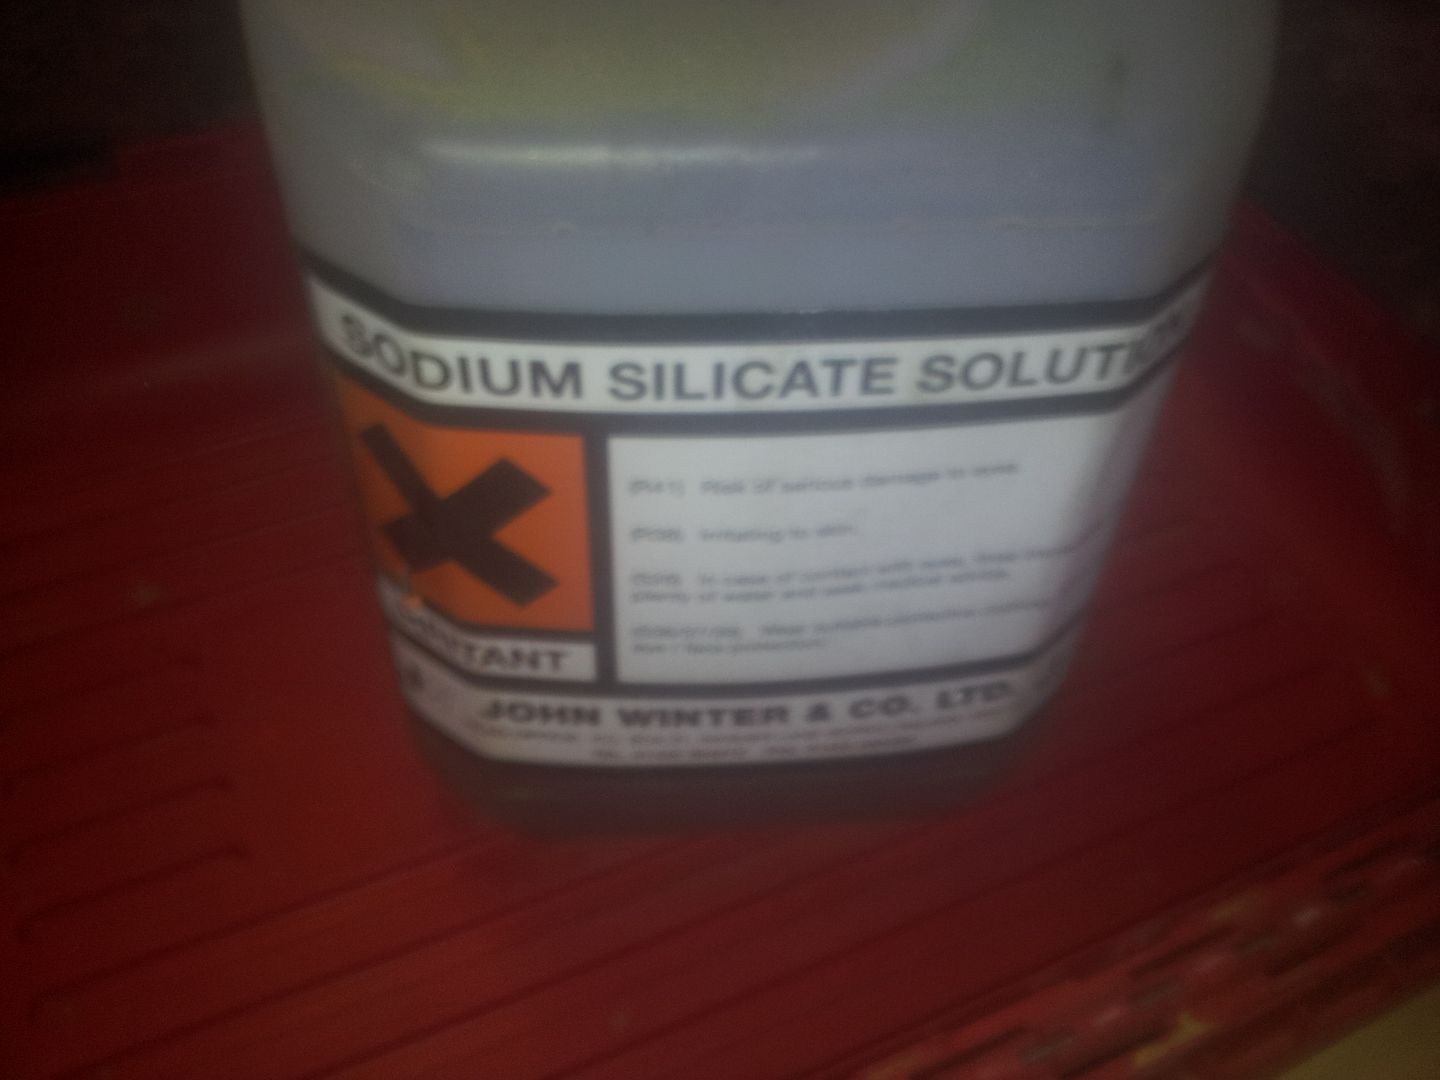 Add, Mix, 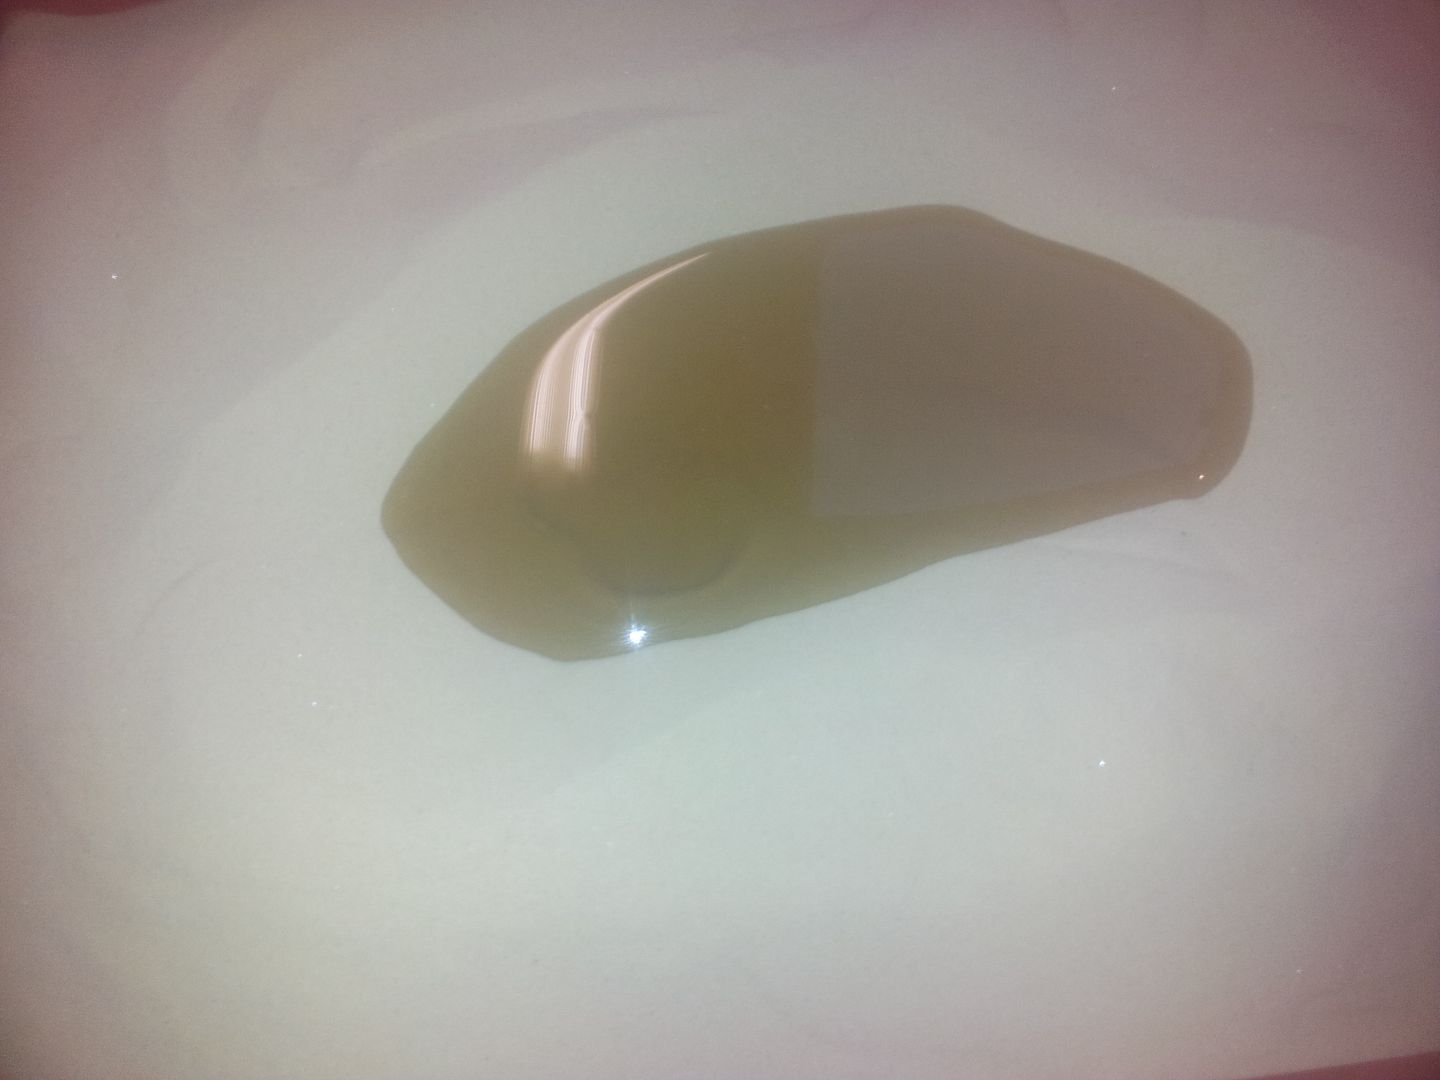 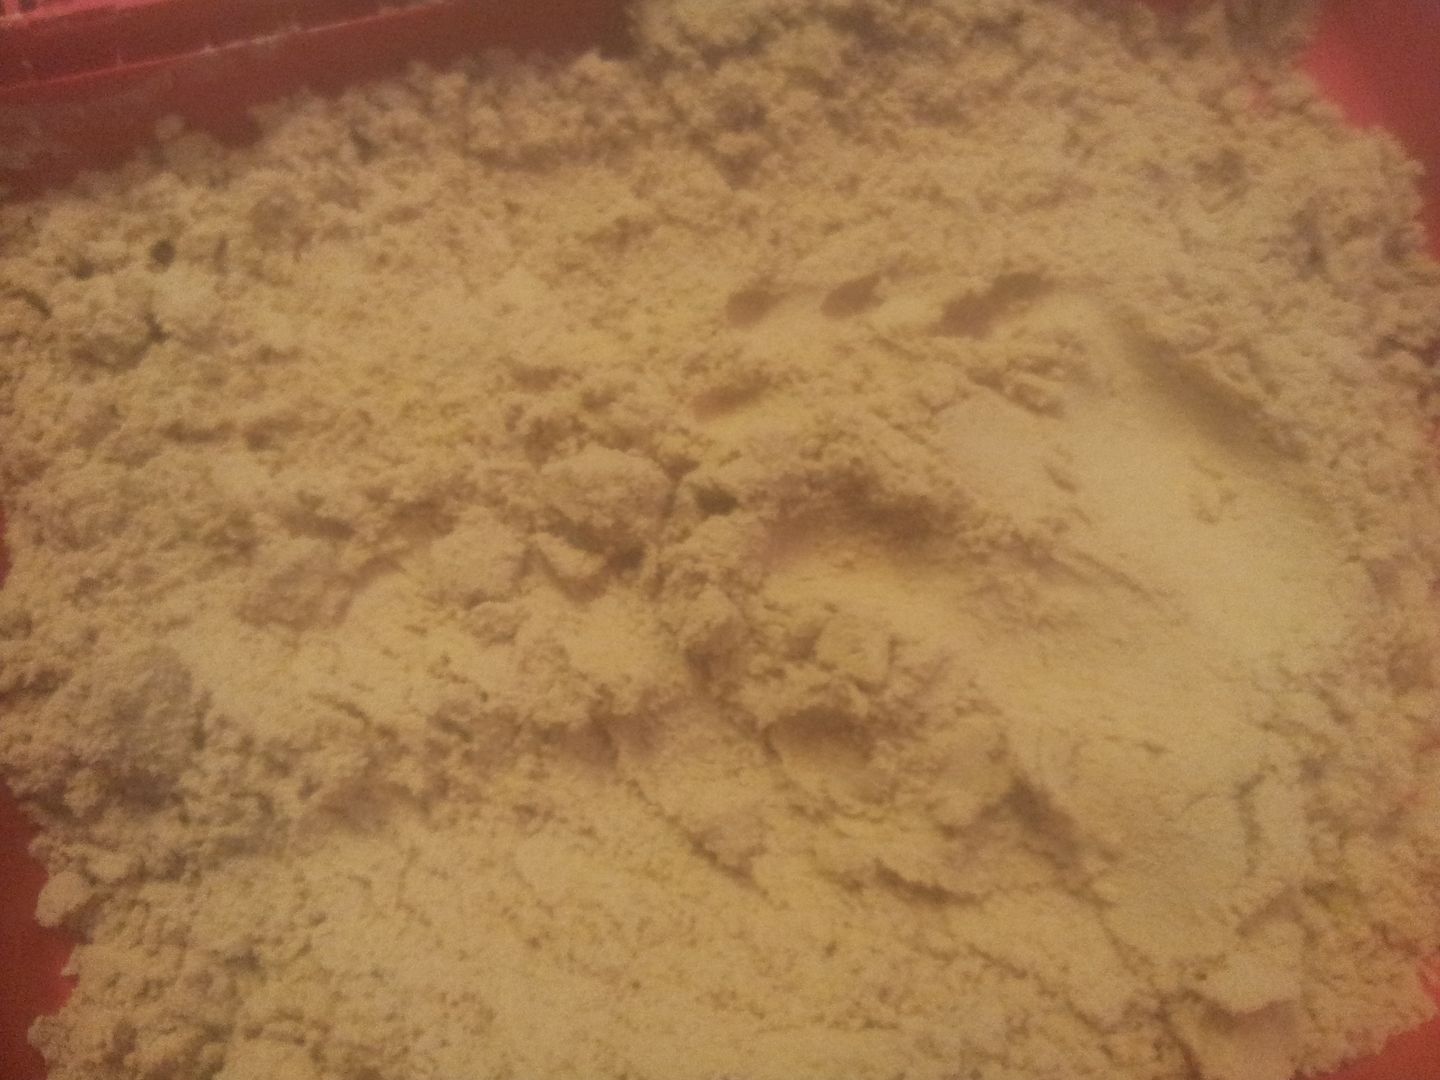 Didnt want to dirty mixer so its just mixed by hand, hence the darker bits here and there 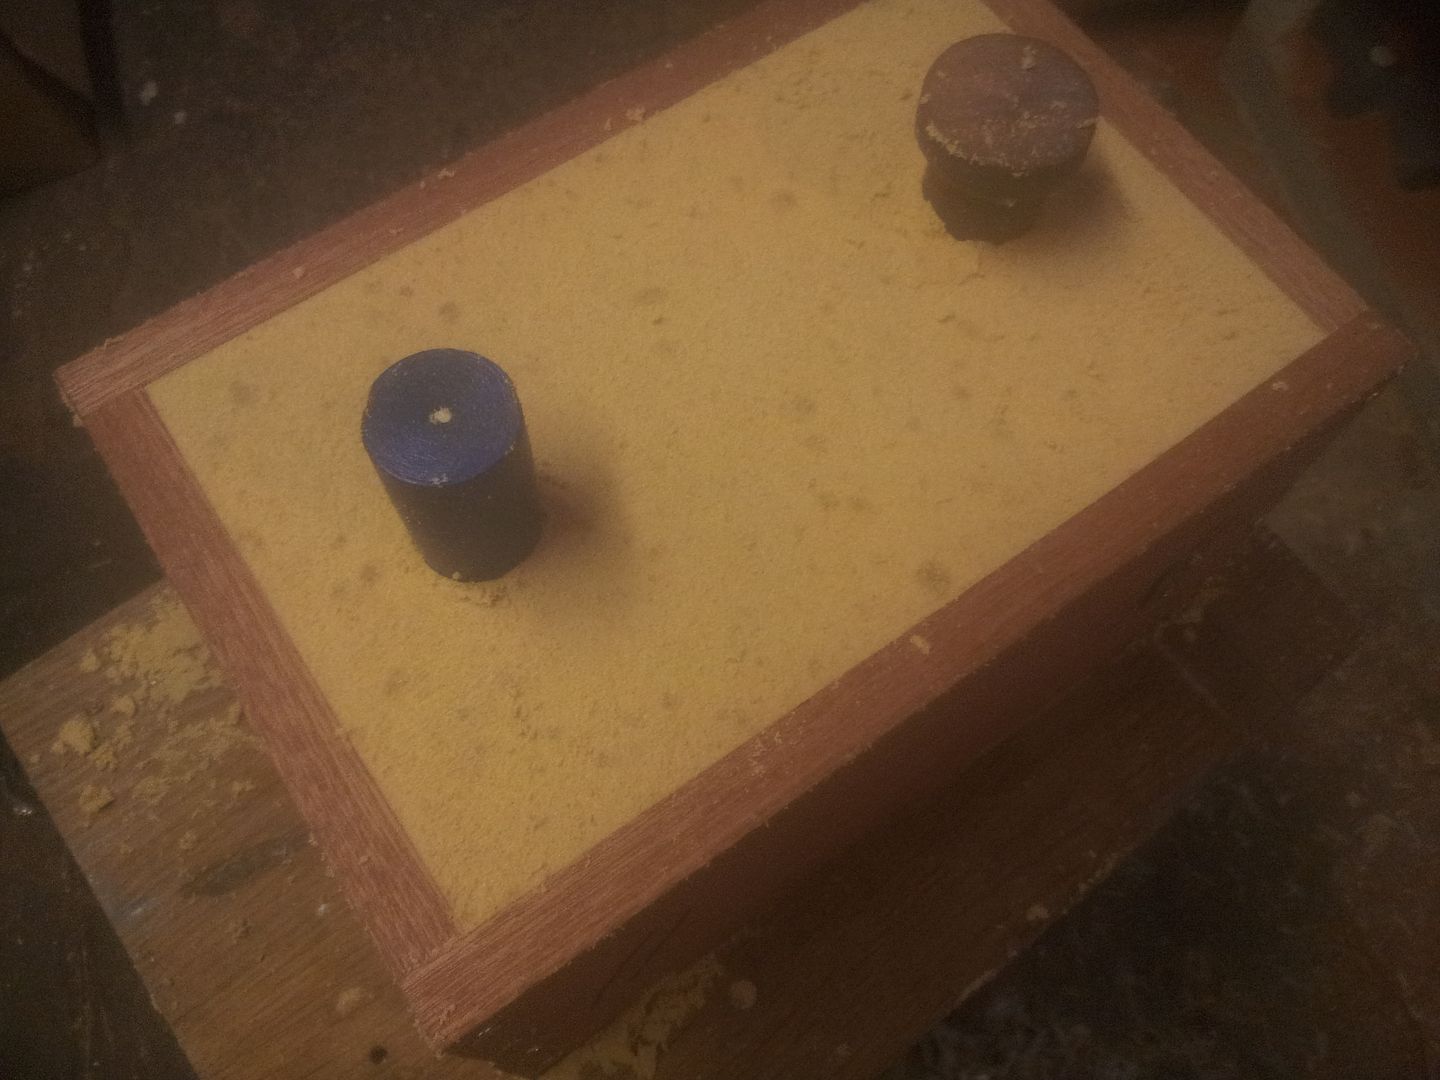 Sand is vented with some wire and Co2 pumped into to cure. 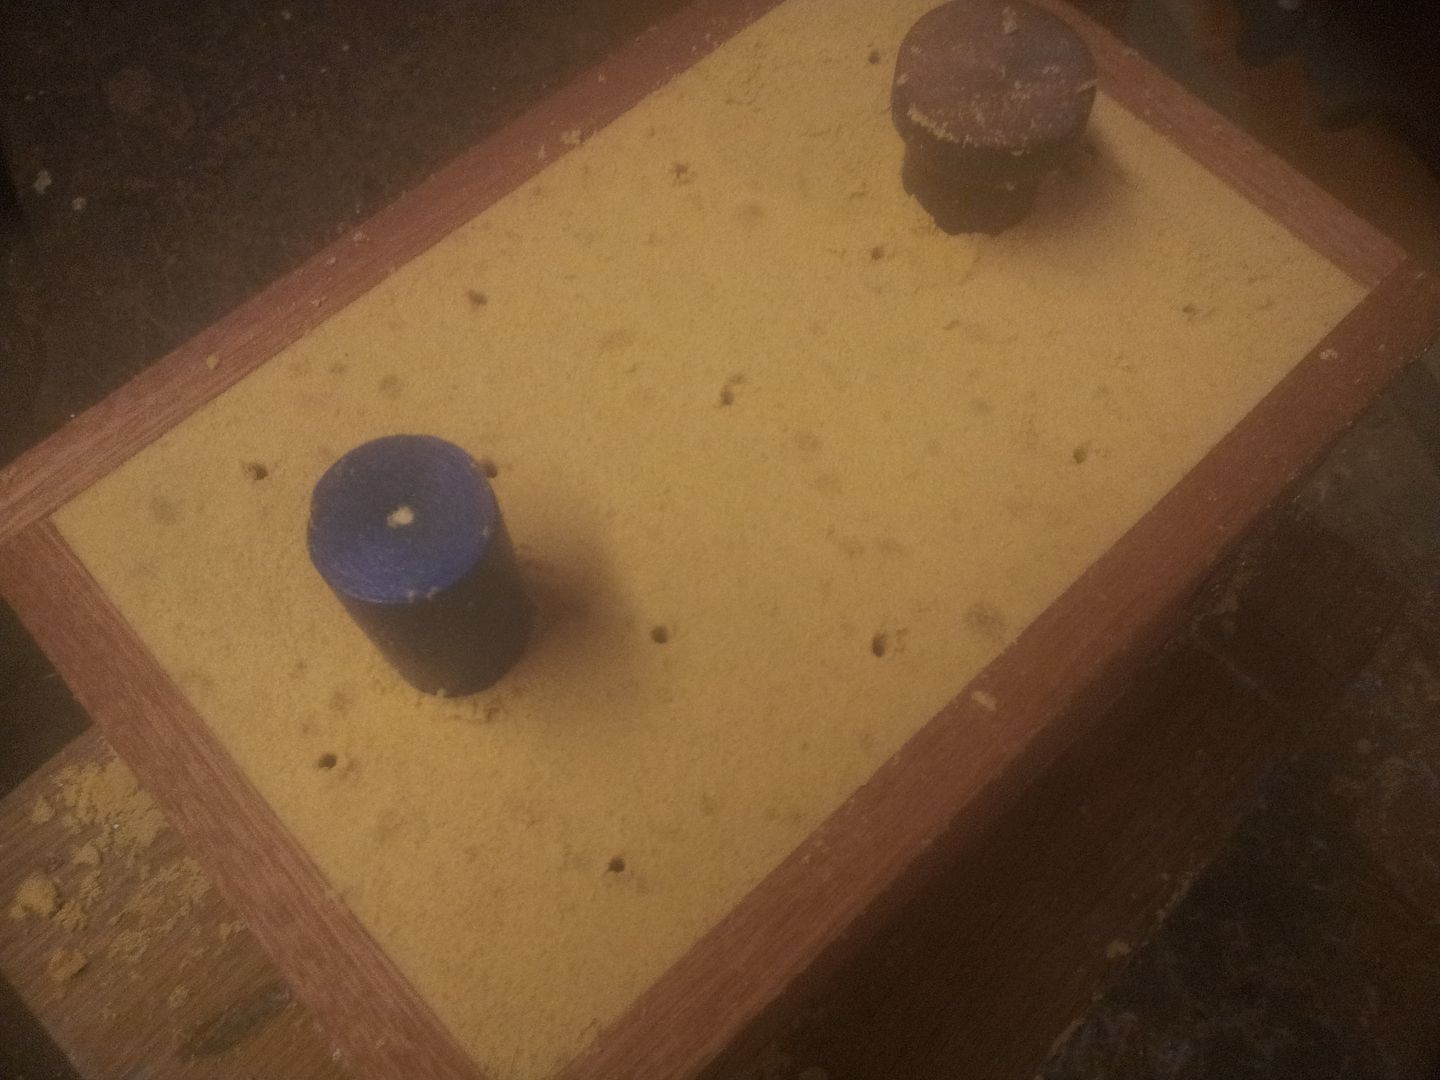 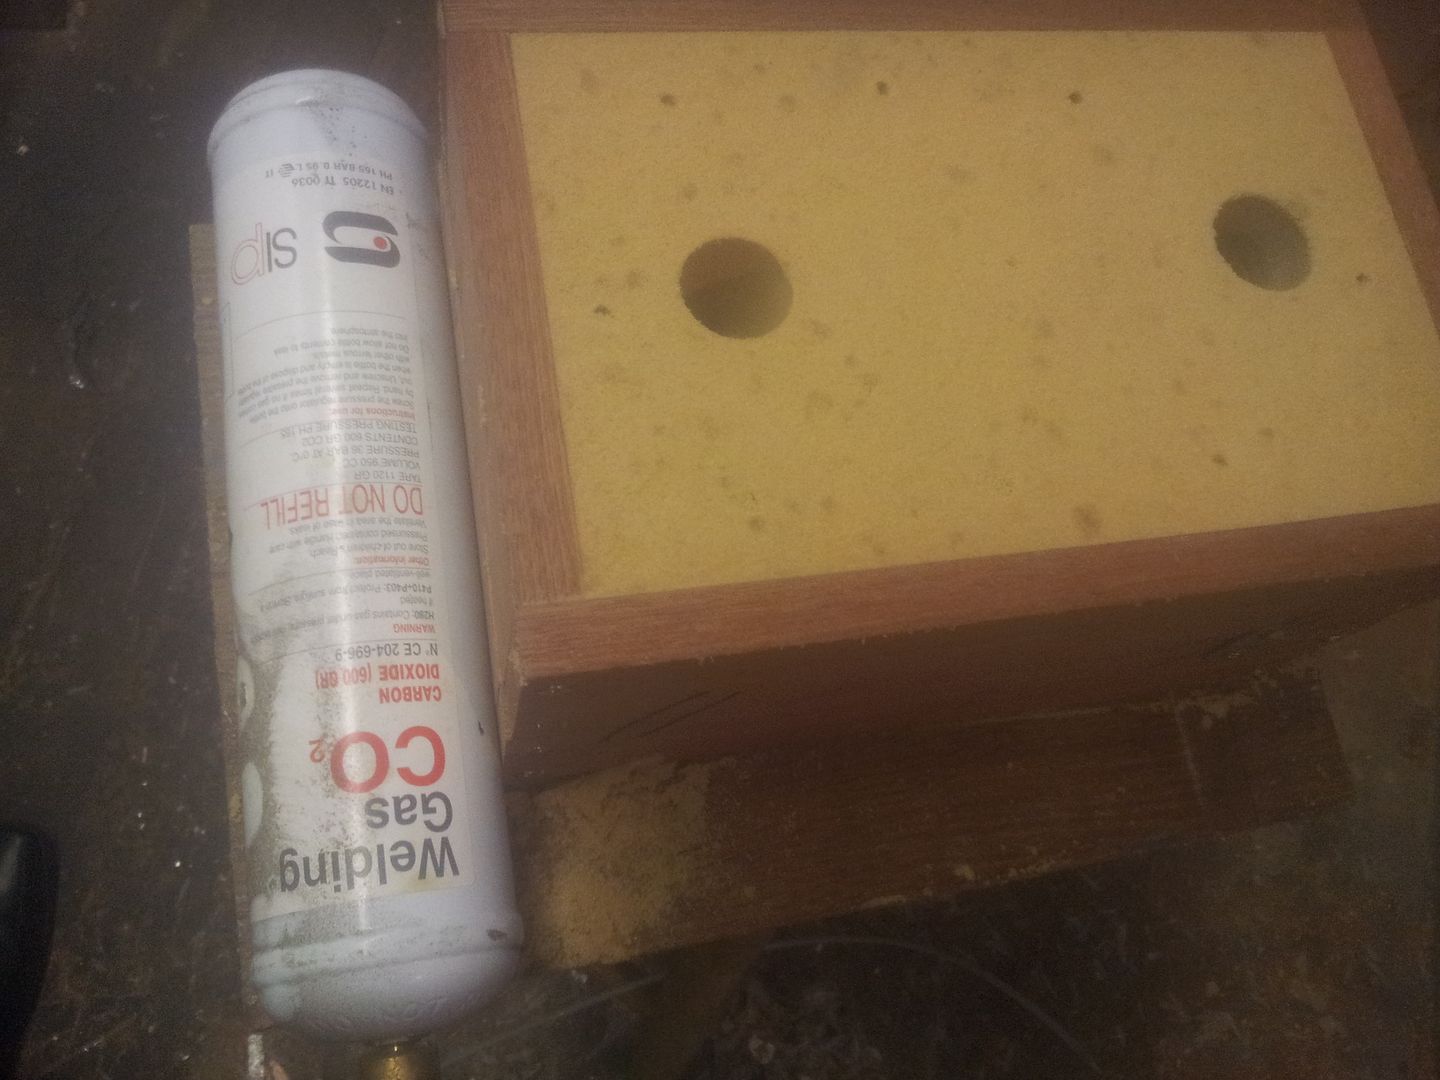 Entire thing turned over and bottom half filled, 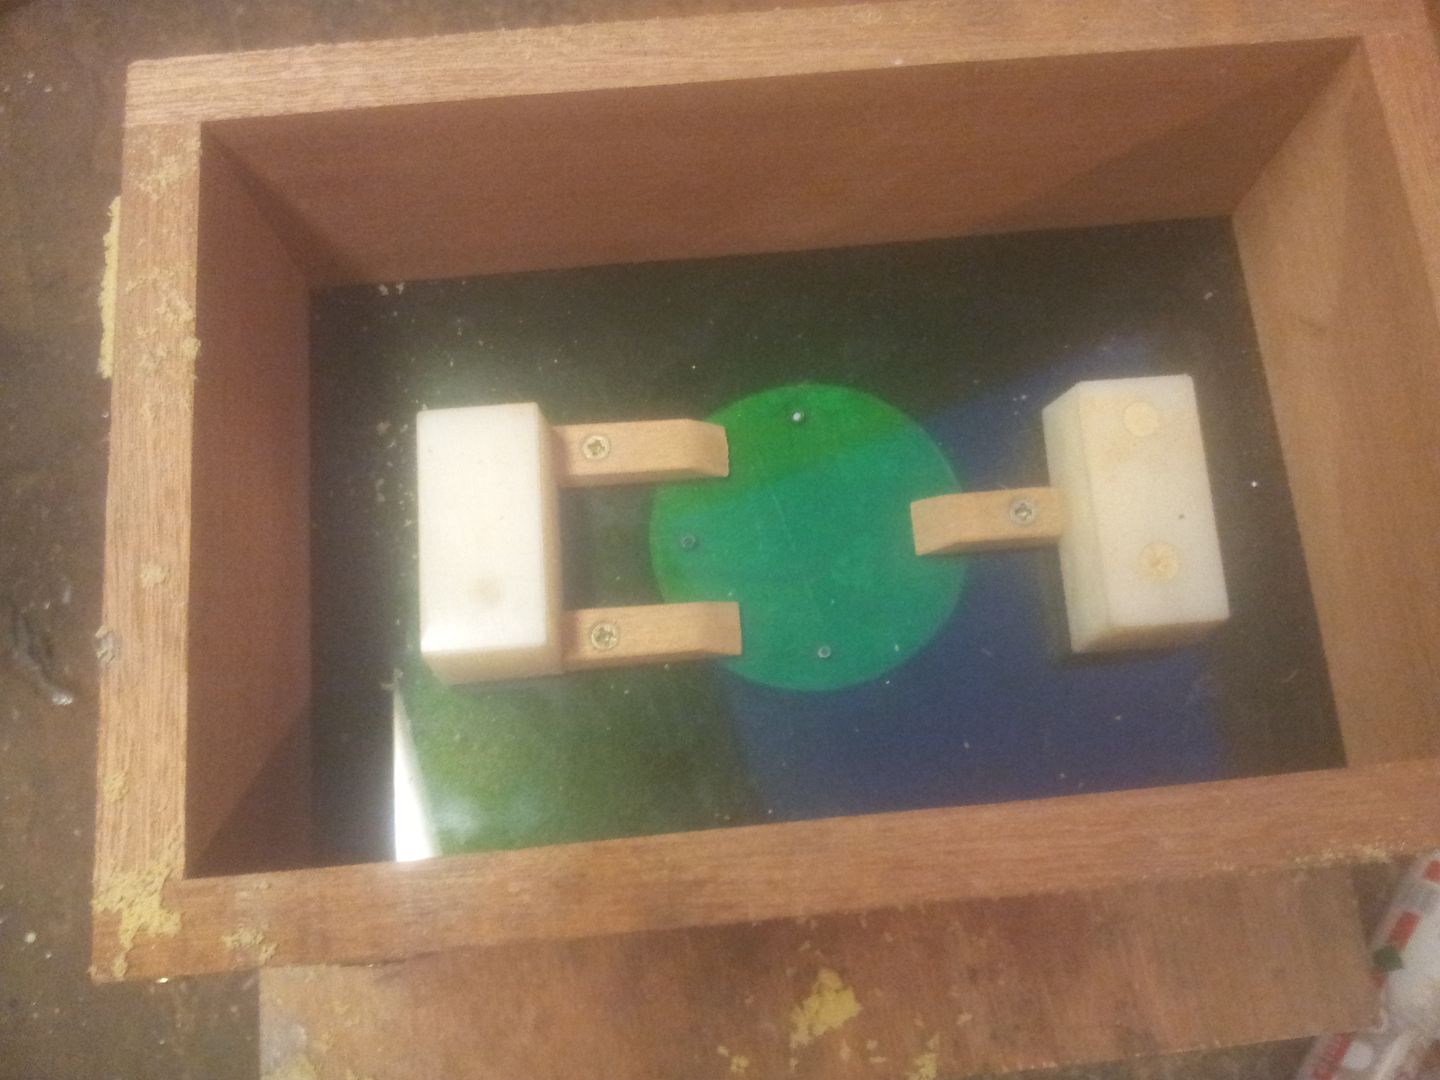 Vented/cured, 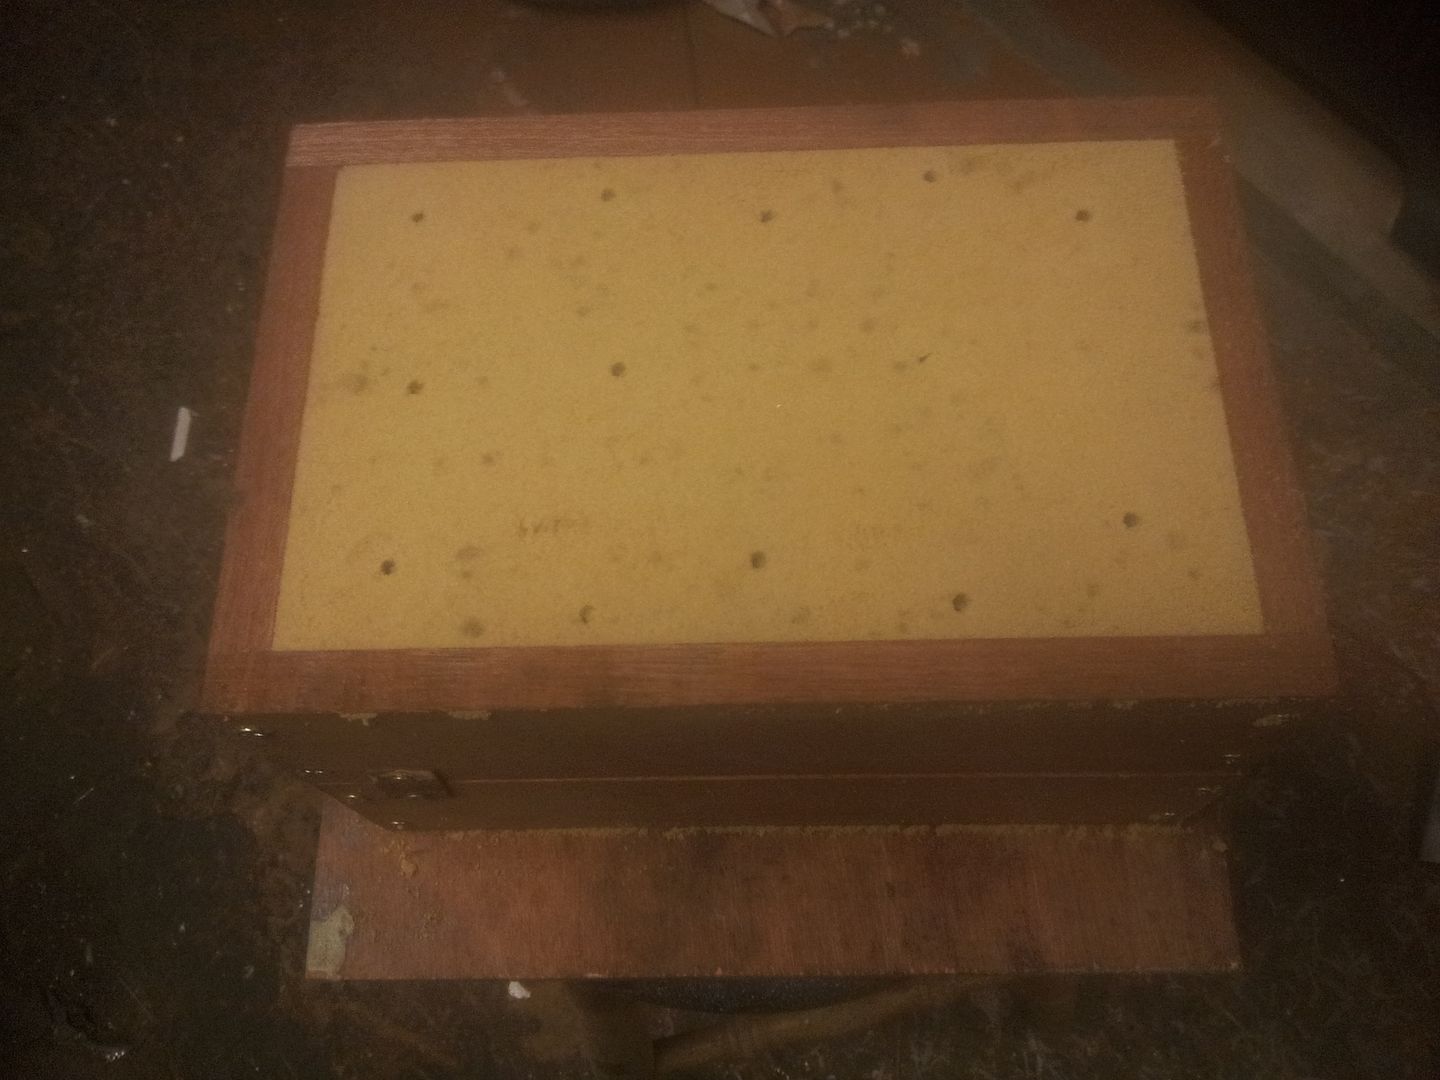 Boxes/pattern plate removed and moulds come out like so,  On the three bolt flange a small screw is fitted to hole in center - this impression is needed later to place the short sand core needed to form hollow in part for end of cam, 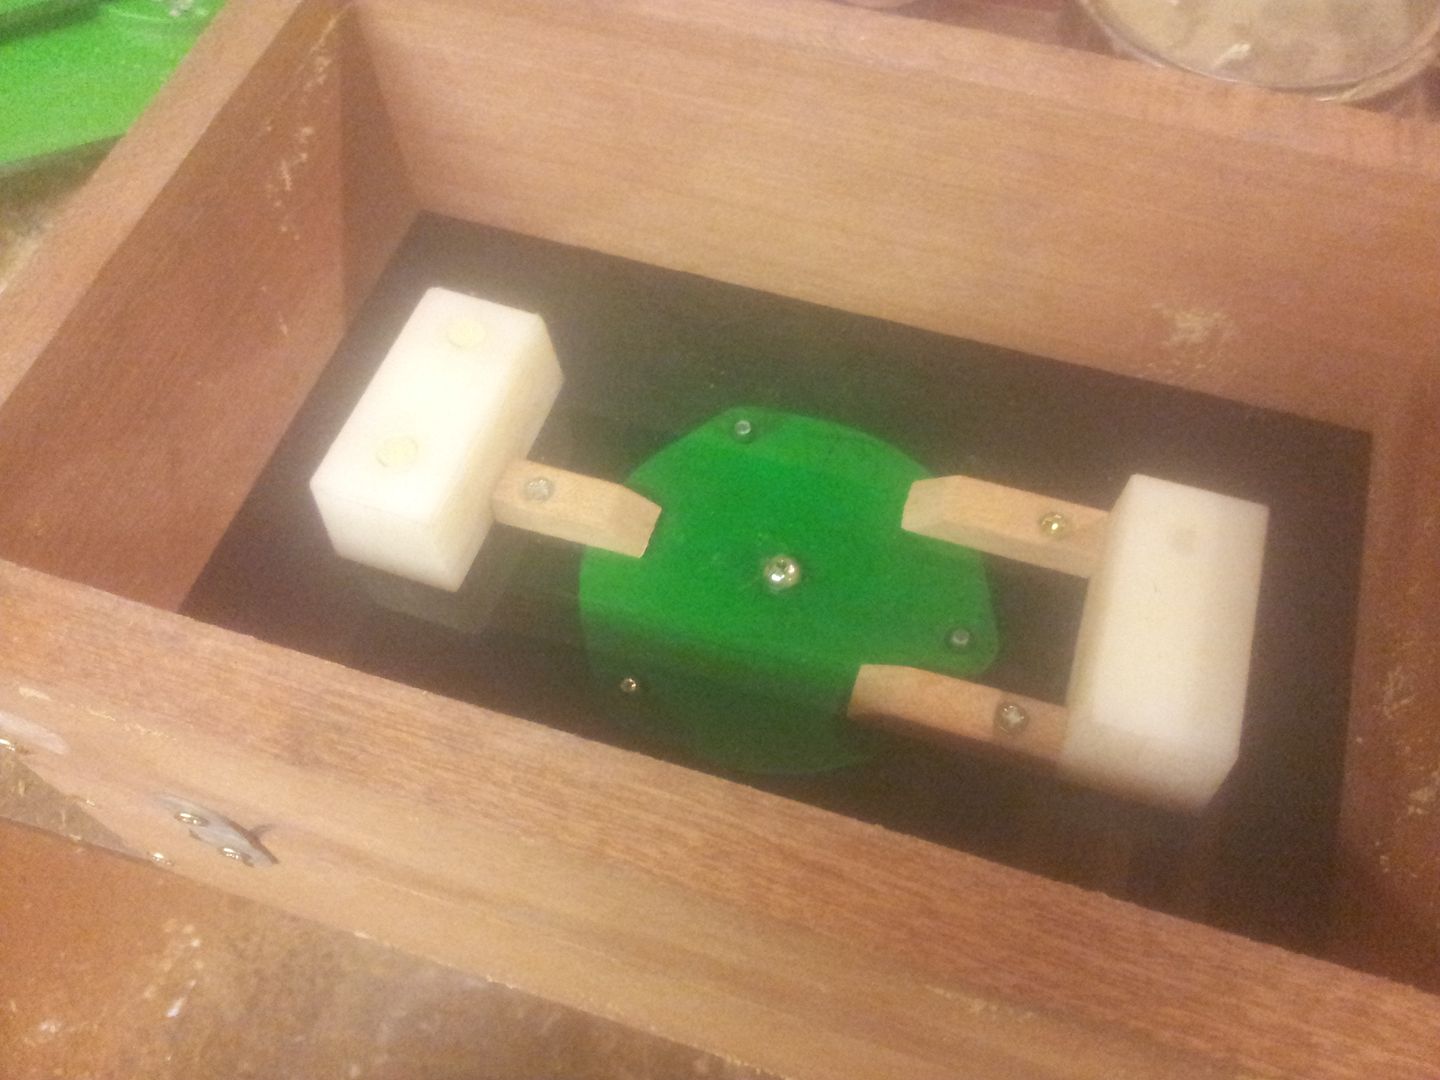 The moulds, 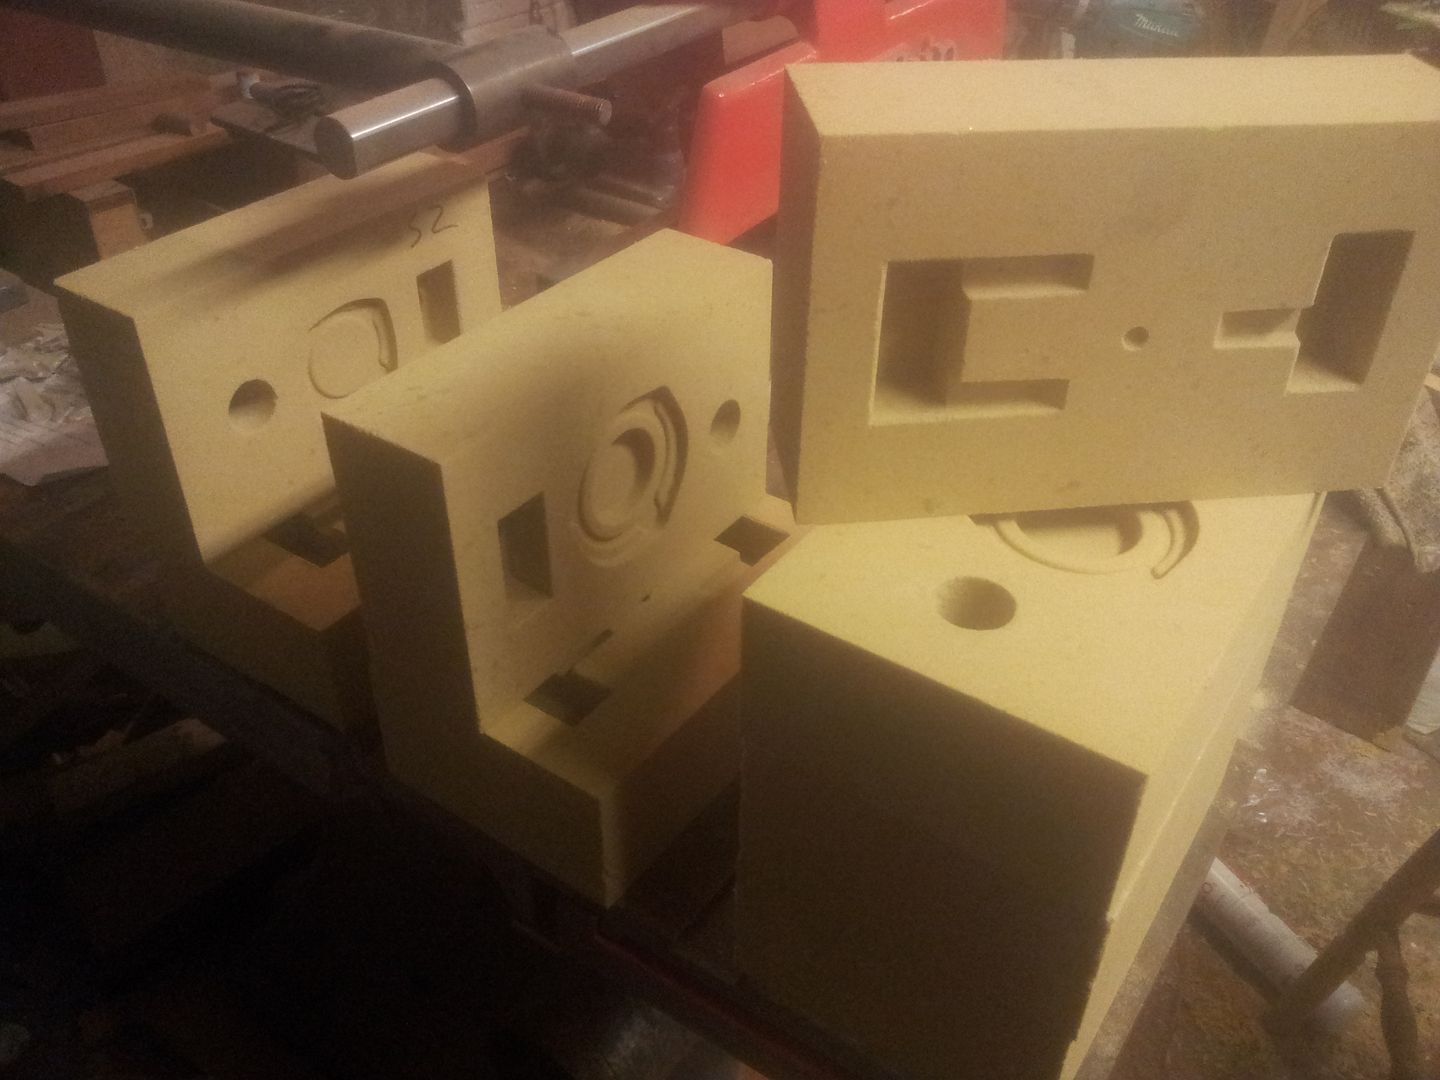 To lock any particles of sand that may come loose, a very weak graphite/zircon solution is mixed up with some iso alcohol. Because Mark wanted slightly rough castings as mentioned to match oem stuff its kept weak so as not to smooth off cavities too much. The coating is ignited to flame dry, 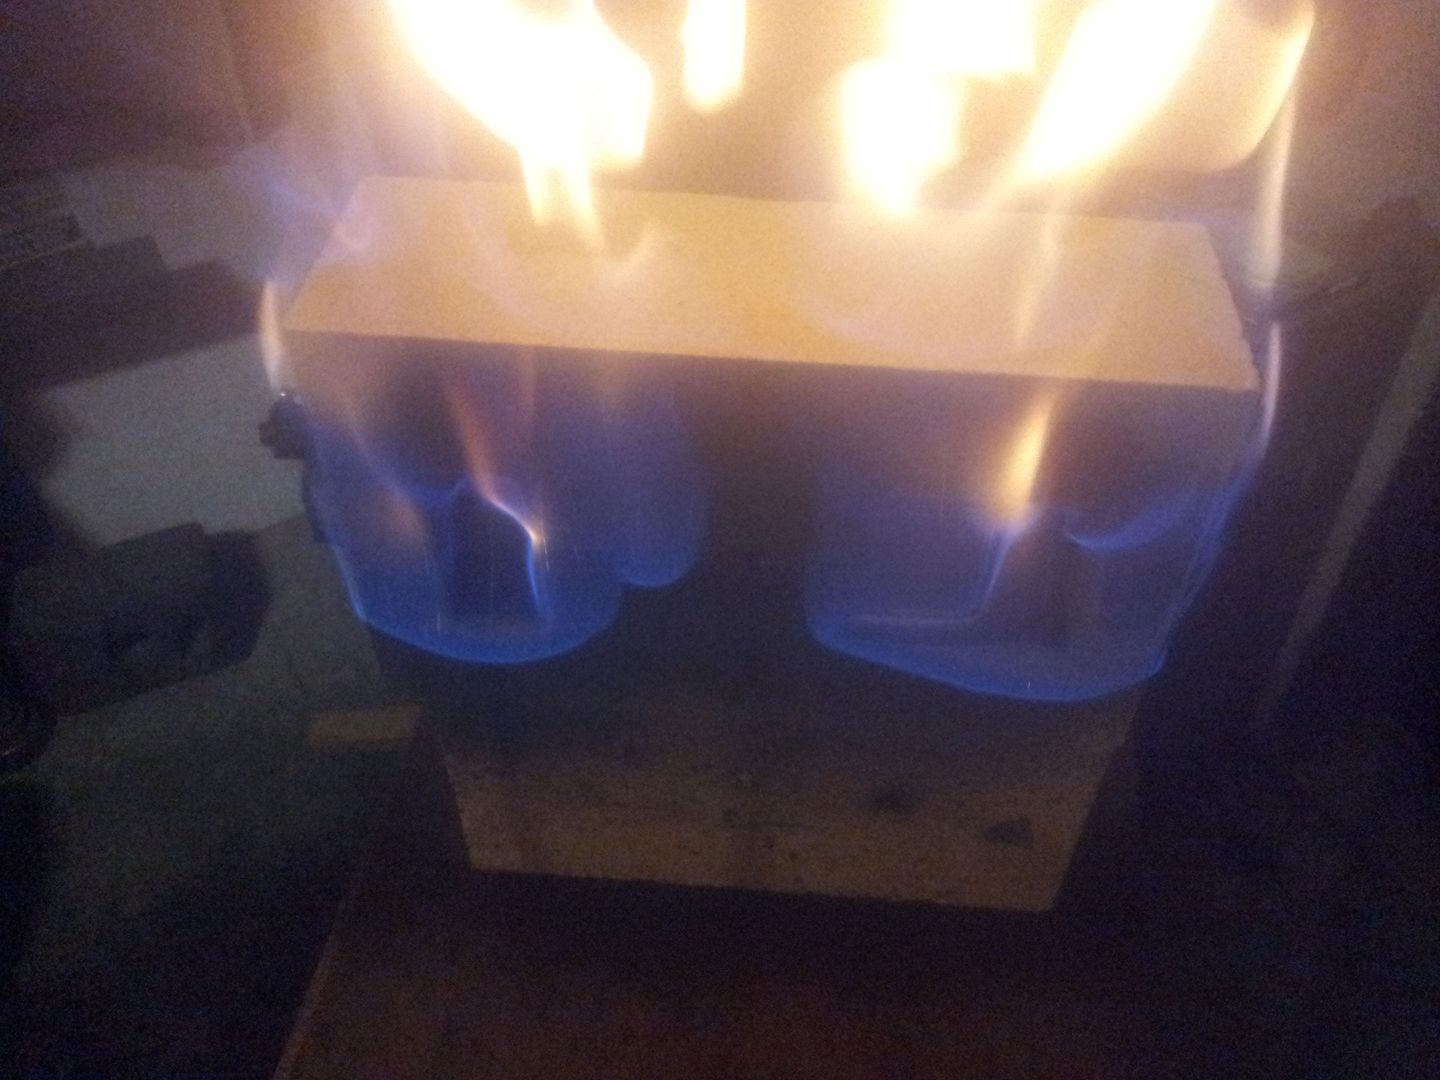 Finished moulds - three bolt moulds awaiting cores to form hollow for cam clearance, also awaiting drilling for air vents, metal filters omitted on these too, 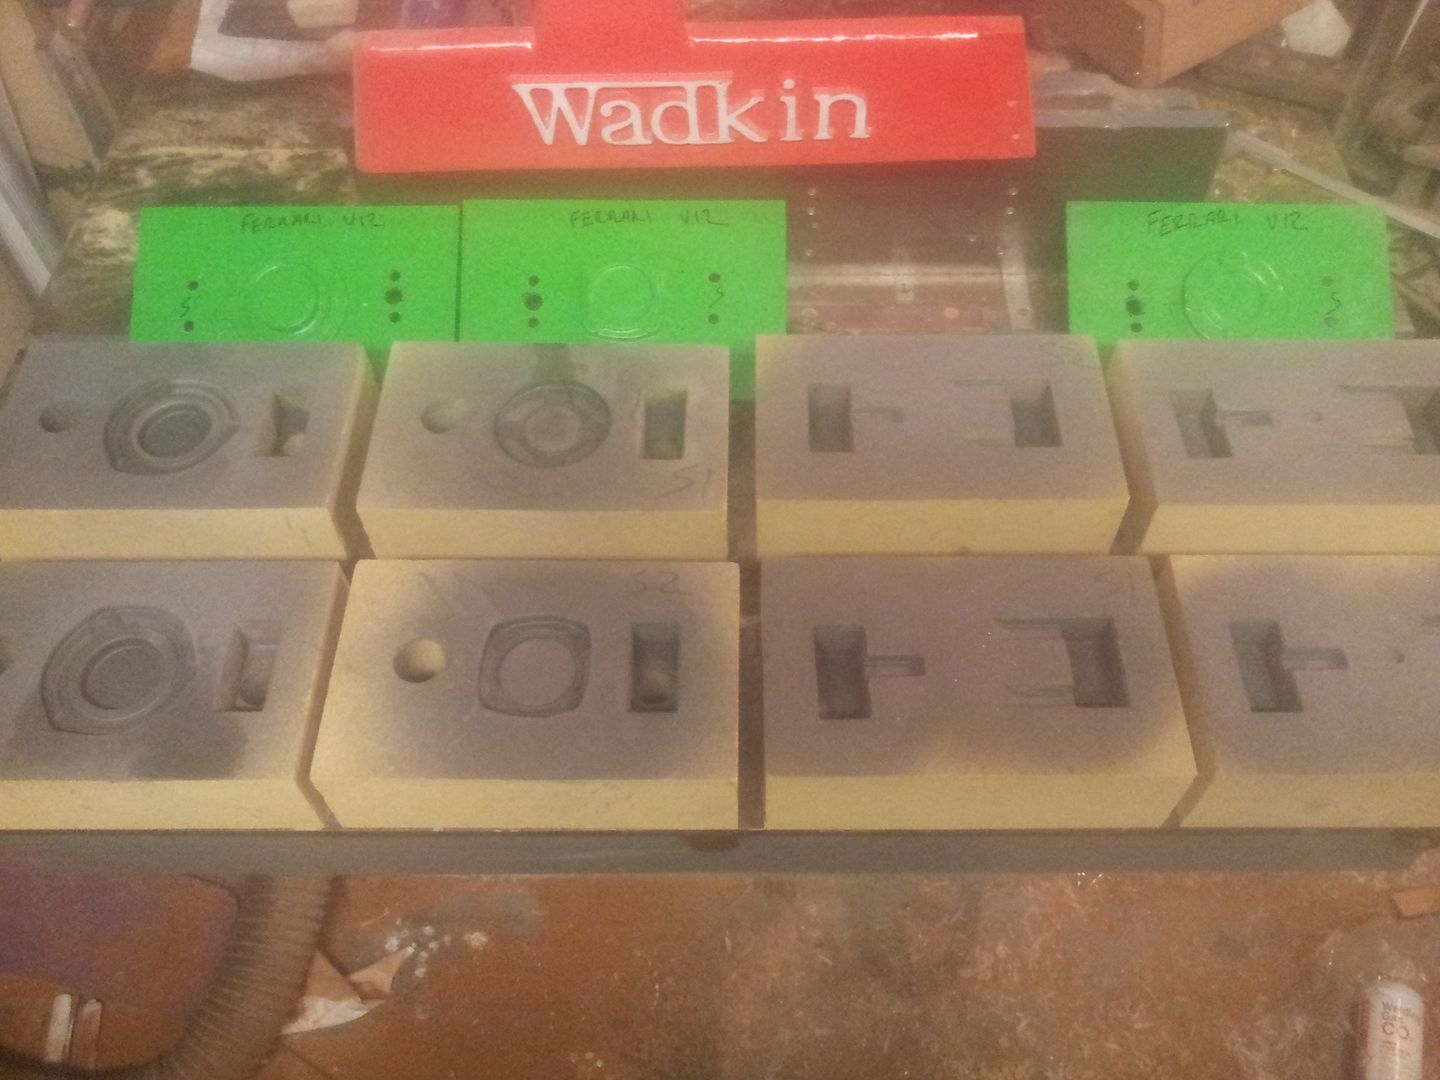 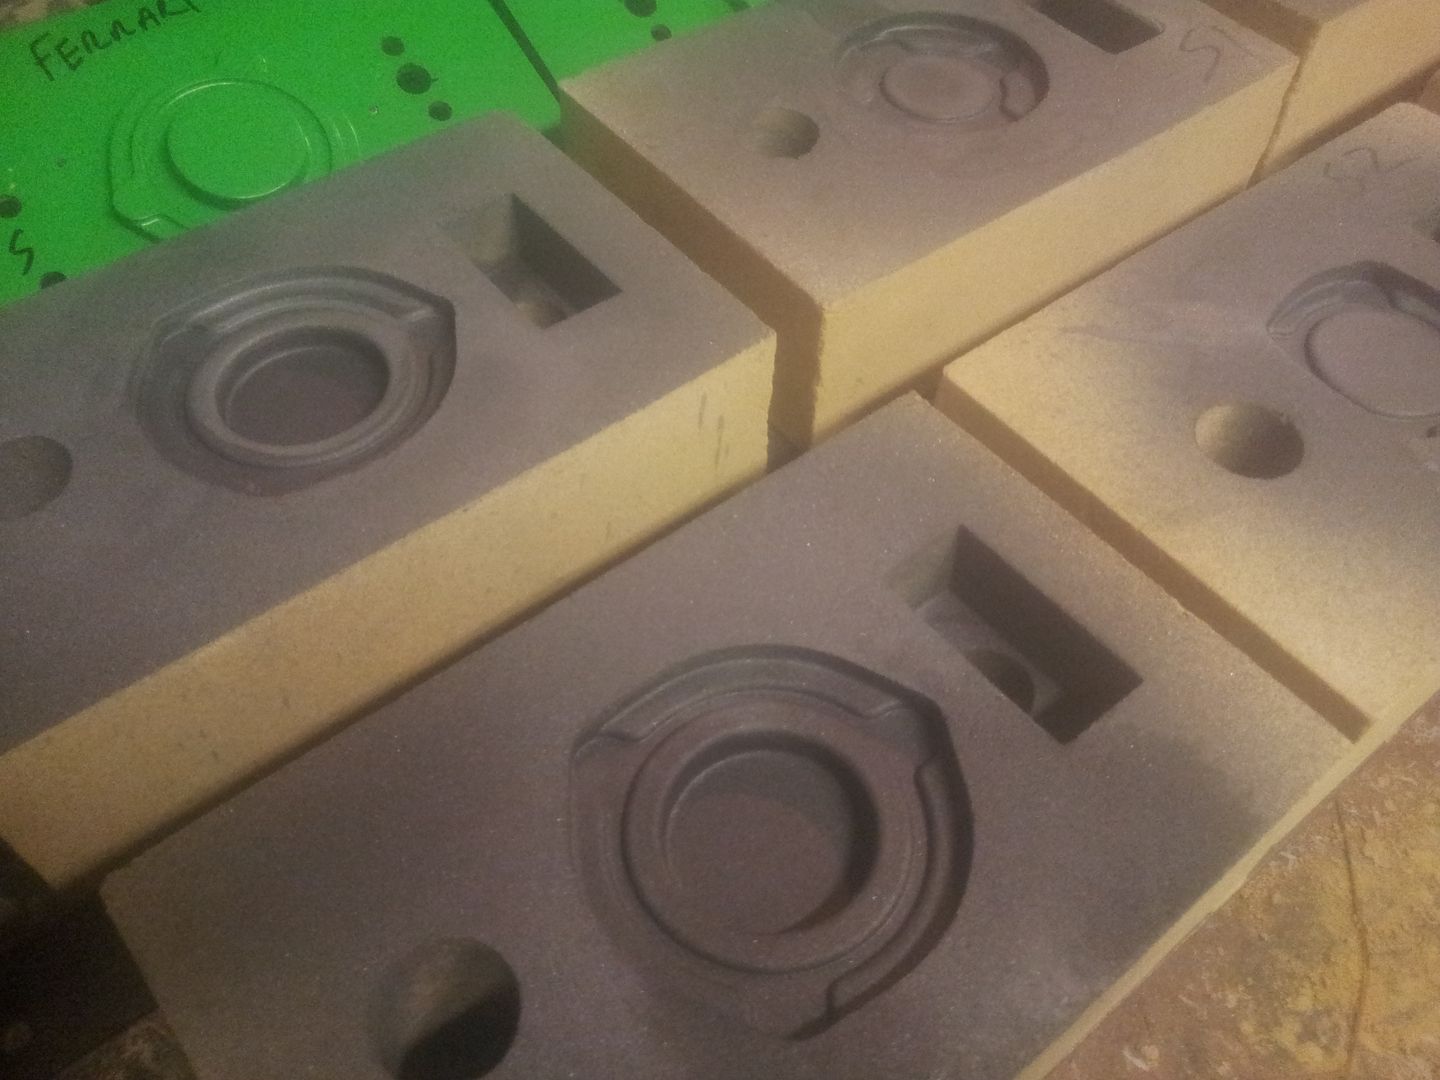 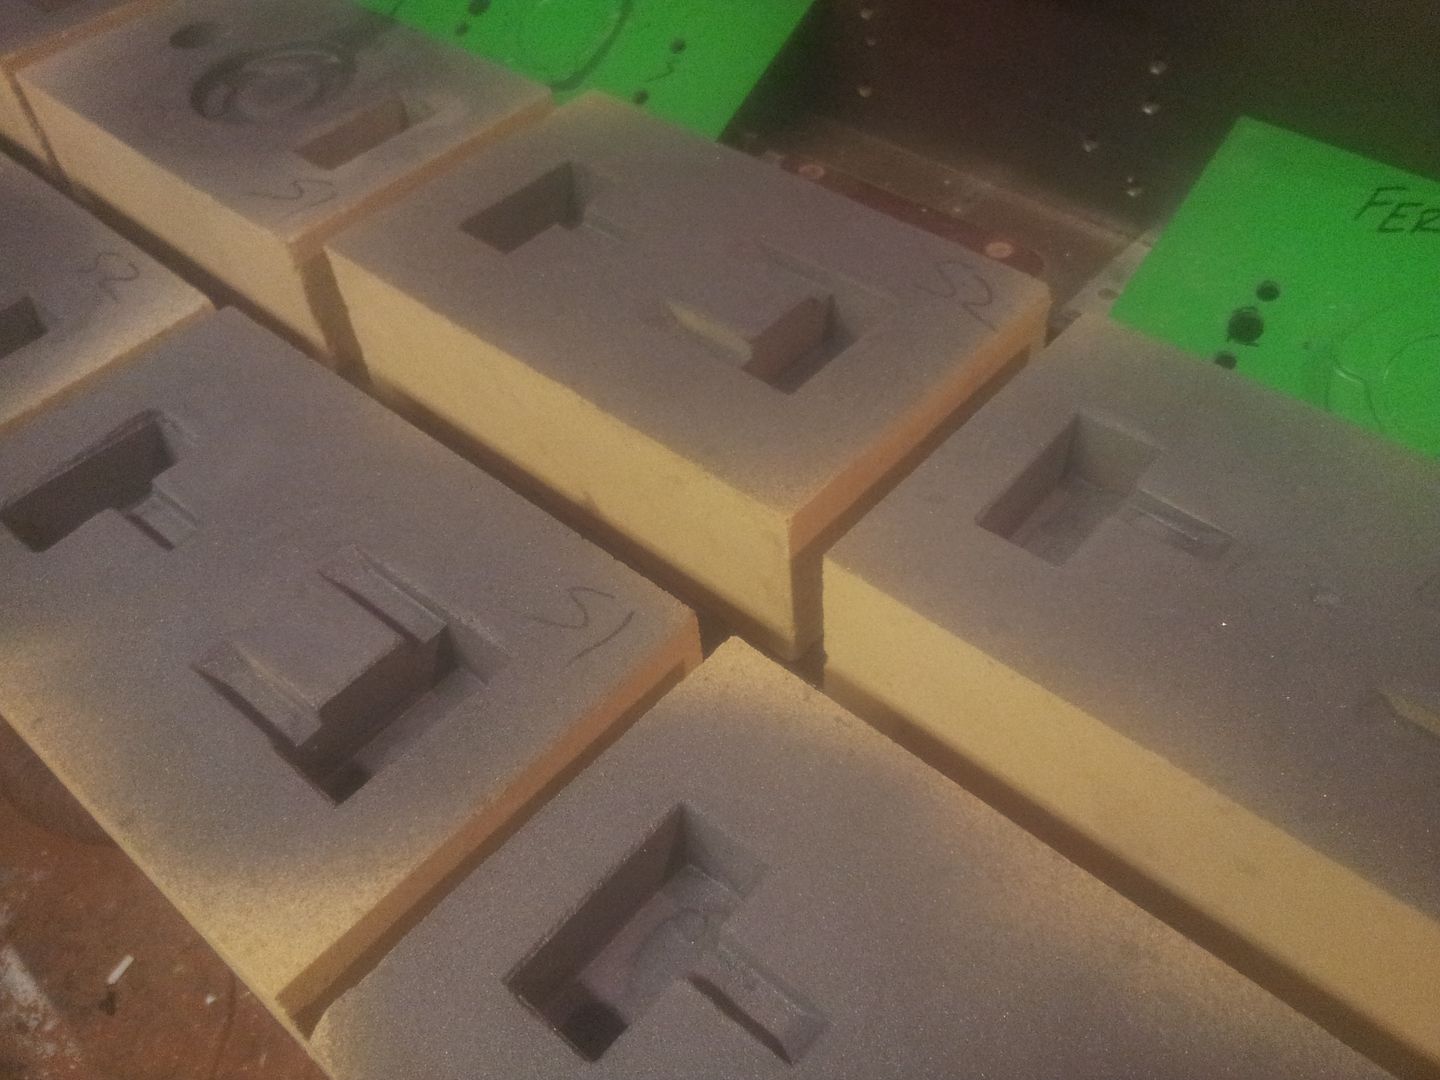 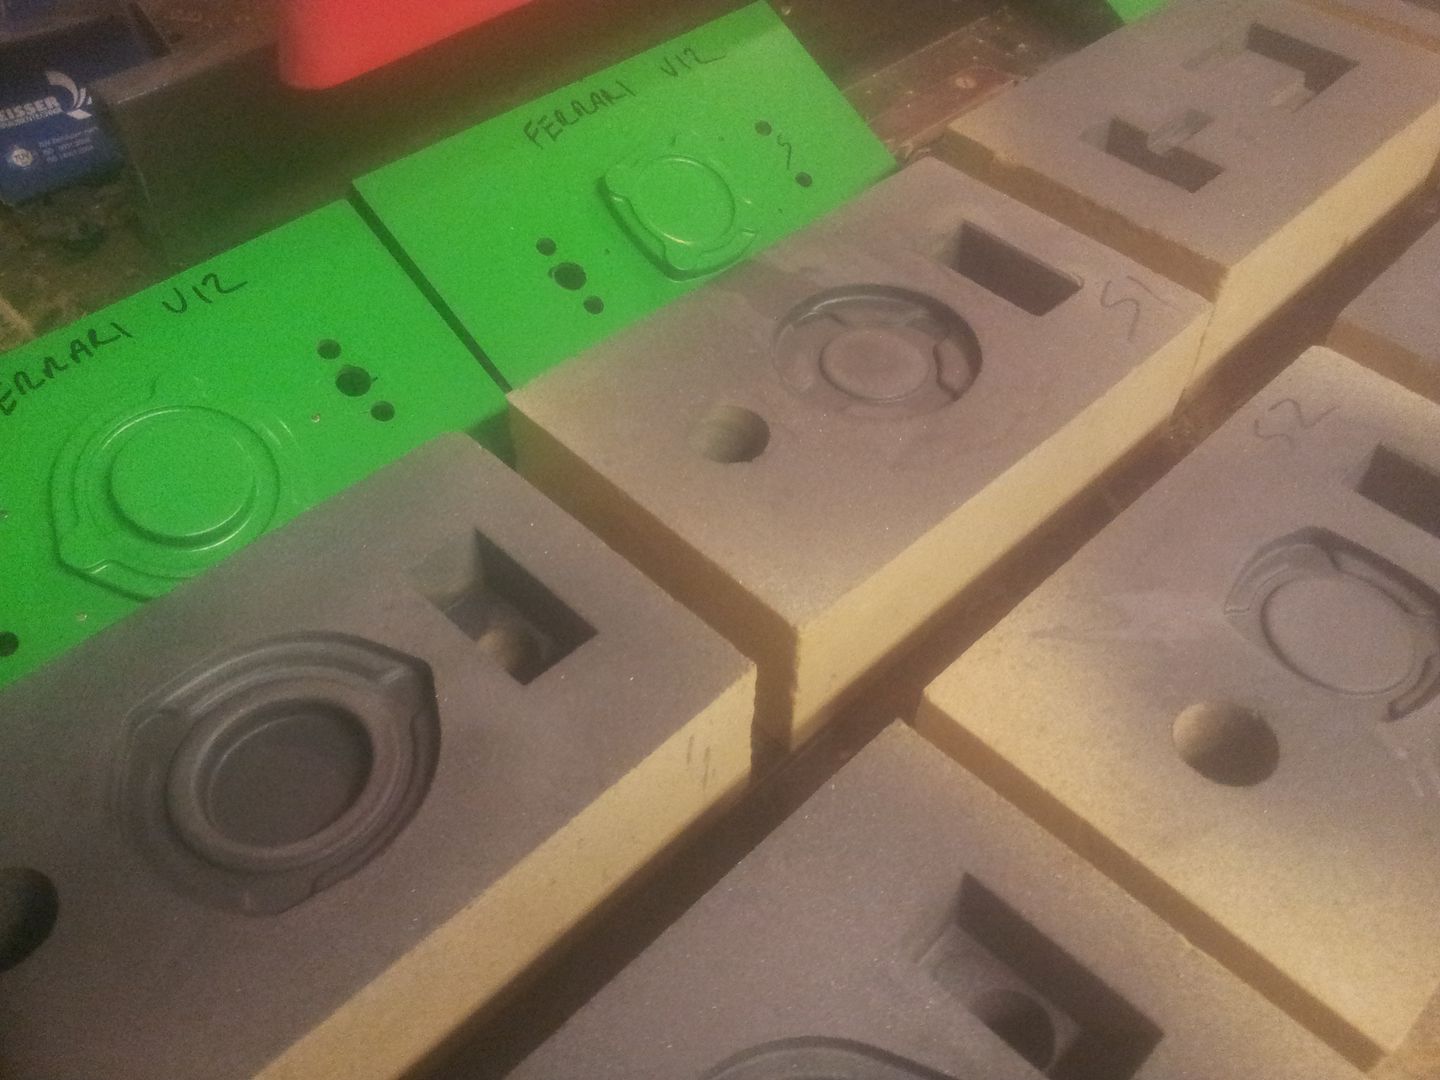 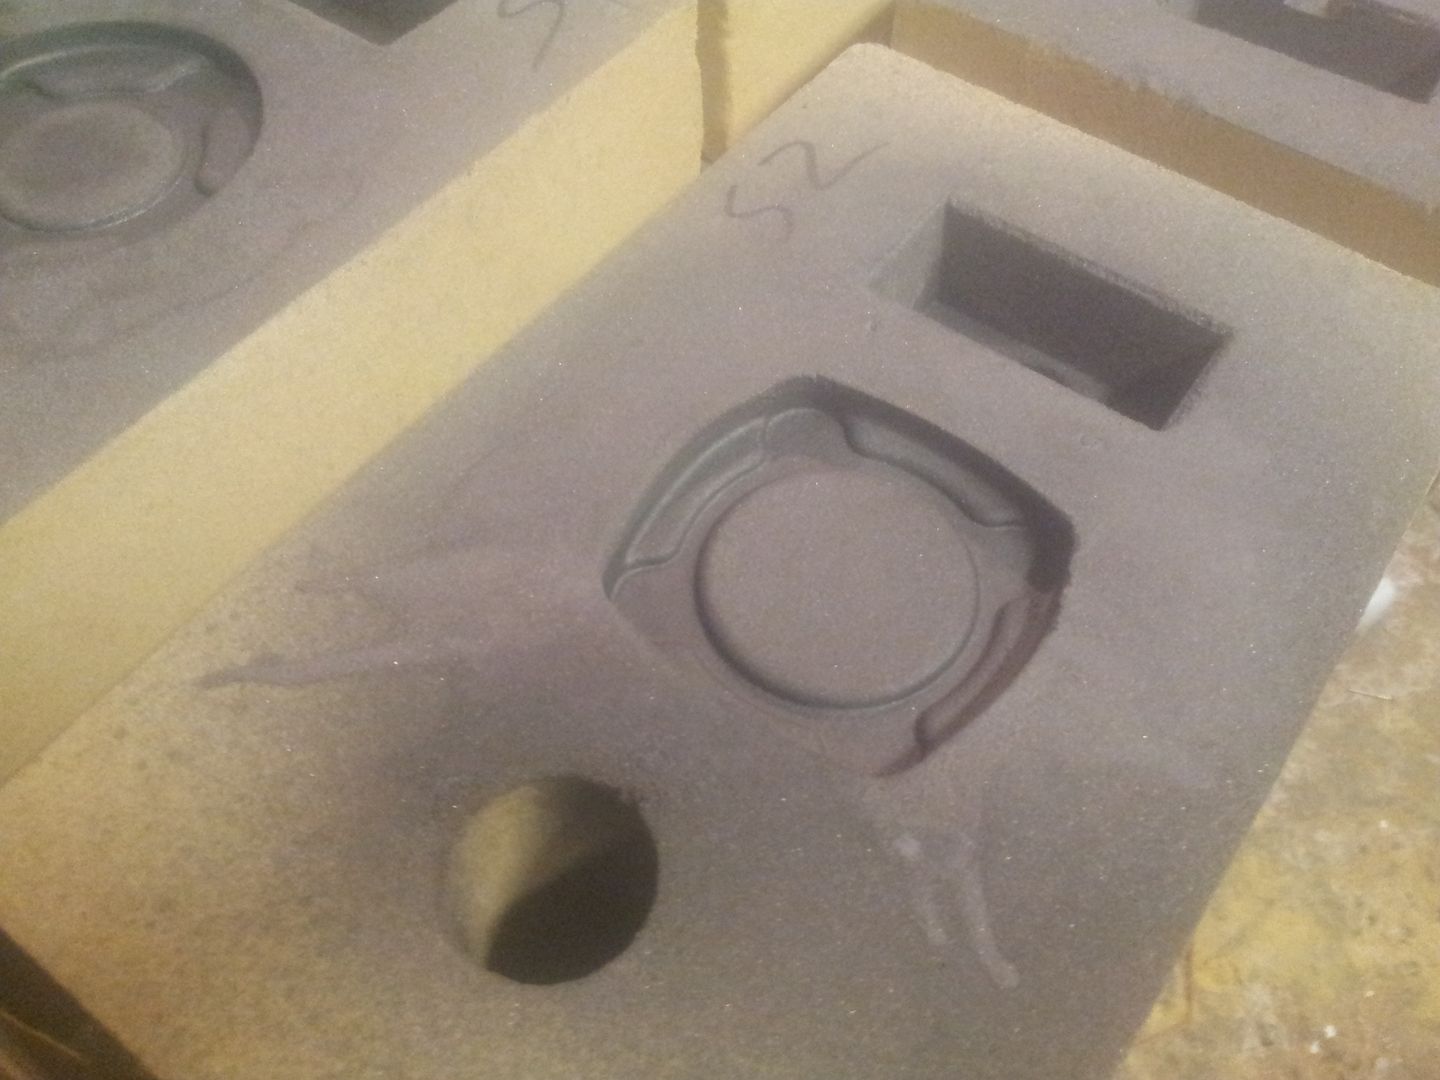  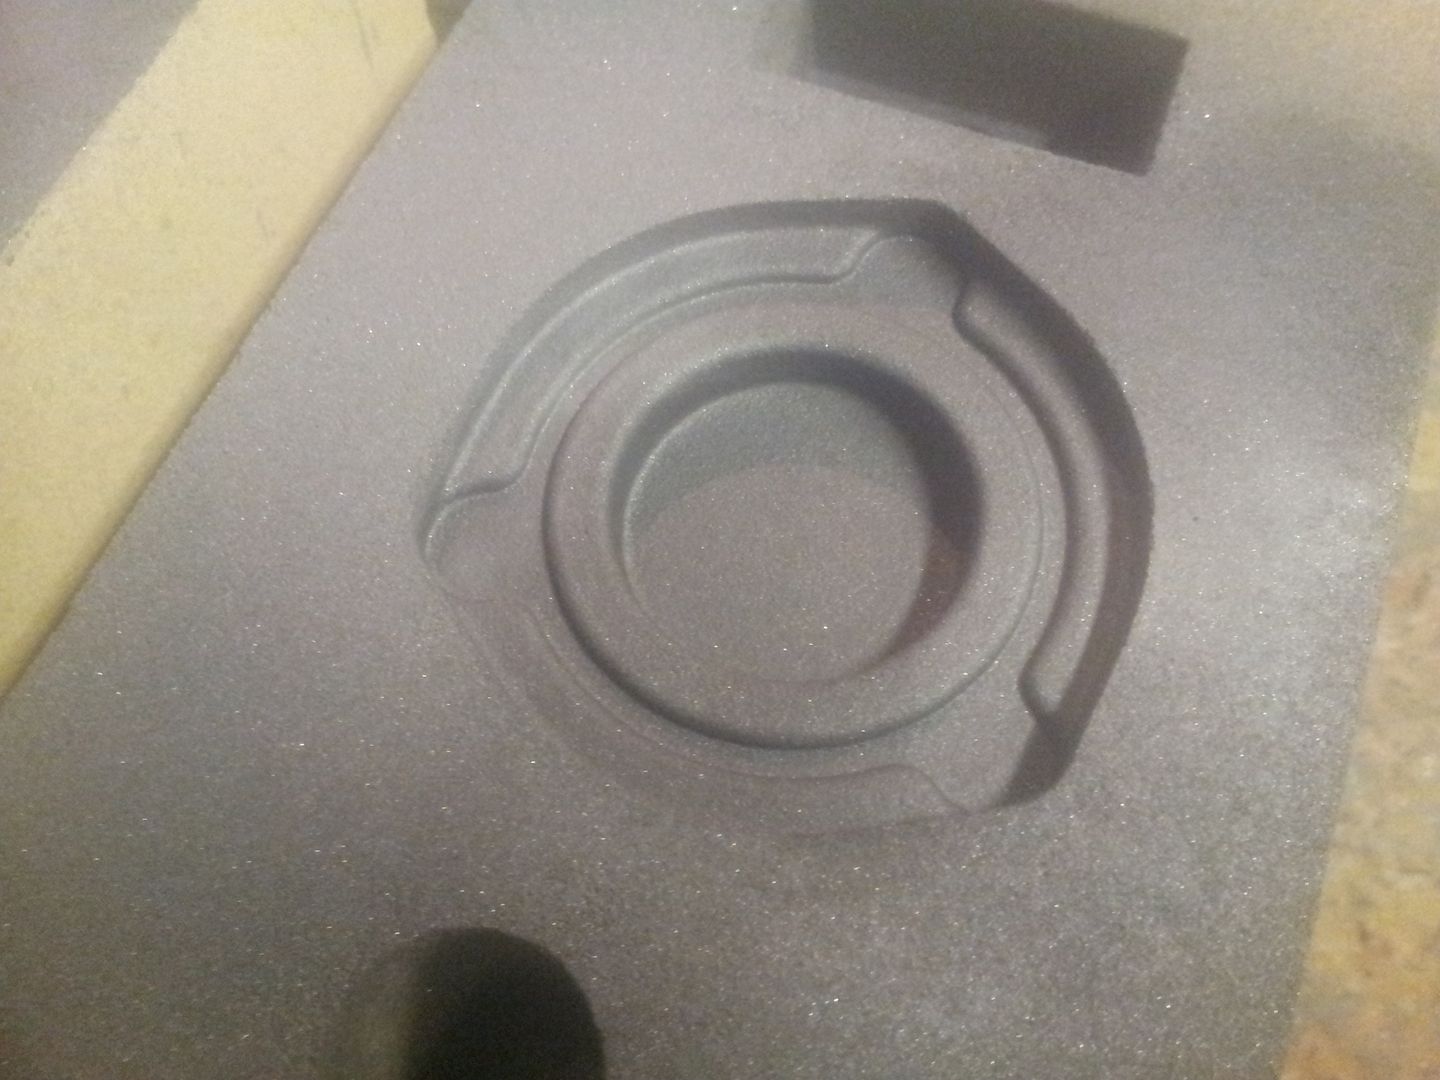 As mentioned these parts are very basic - but the process is much the same no matter how complex the part. Some complex parts/ moulds can require 10-20 patterns, the finished sand mould being built up from many sand components to form required shape. Hope to get these poured and finish machined tomorrow/eve, Brian, |
|
| Page 4 of 7 | All times are UTC - 5 hours [ DST ] |
| Powered by phpBB® Forum Software © phpBB Group https://www.phpbb.com/ |
|